When it comes to delivering high-quality code, every engineering team needs to find a process that fits them like a glove. And one of the most important tools in any developer's kit is Git. But here’s the thing—Git isn’t just about version control. It’s about how your team collaborates, communicates, and ultimately gets the job done. That’s where Git workflows come in. In this post, we'll walk through five essential Git workflows that can help your team work smarter, not harder.
Why Picking the Right Git Workflow Matters?
If you’ve worked in software development for any amount of time, you know that having the right tools in place is half the battle. But even the best tools—like Git—are only as effective as the way you use them. Git workflows are like the "playbook" for how your team handles code—whether it's merging changes, resolving conflicts, or simply keeping everything organized.
The workflow you choose shapes how your team interacts with Git, and by extension, how smoothly your development process runs. Is your team big or small? Are you releasing frequently or working on long-term projects? These are the kinds of questions that will help you pick the workflow that fits your team’s unique needs.
Now that we have that covered, let’s explore the five crucial git workflows.
[Read more: What is Git, Features, Command and Workflow]
Five Popular Git Workflows for Better Code
In this article, we'll explore Git workflows that can help streamline your development process and result in better code.
1. Centralized Workflow
The centralized workflow is a simple and straightforward approach to using Git. In this model, there is a single central repository with a "master" branch where all developers push their changes. This workflow is similar to using a traditional version control system like Subversion and is an easy transition for teams new to Git.
Benefits of the centralized workflow include its simplicity and reduced overhead. With a single branch, developers can focus on making changes without the complexity of managing multiple branches.
To set up a centralized workflow, follow these steps:
- Create a central repository on a remote server, such as GitHub or GitLab.
- Clone the repository locally, so each developer has their own working copy.
- Make changes to the code locally, then commit and push these changes to the central repository.
- Be aware that the centralized workflow can lead to merge conflicts if multiple developers are working on the same file simultaneously. To mitigate this, ensure developers communicate effectively and consider adopting a code review process to minimize conflicts.
2. Feature Branch Workflow
The feature branch workflow is a popular approach that isolates the development of individual features in separate branches. Doing so helps maintain a clean and stable master branch while allowing developers to experiment and iterate on their features.
Benefits of the feature branch workflow include improved collaboration and reduced risk of breaking the main branch. By isolating feature development, teams can better manage and integrate their work.
To set up a feature branch workflow, follow these steps:
- Create a new branch for each feature, ideally with a descriptive name.
- Make changes and commit them to the feature branch.
- When the feature is complete, merge it back into the master branch to resolve any conflicts.
- Keep in mind that managing multiple feature branches can become complex.
- Establish a clear naming convention for branches and ensure developers communicate about their work to avoid confusion.
[Read more: Best Git Branching Strategies For Engineering Teams]
3. Gitflow Workflow
The Gitflow workflow is an advanced branching model designed to support complex projects with multiple release cycles. It involves several branches, including "master," "develop," "feature," "release," and "hotfix" branches.
In Gitflow, the master branch represents the latest stable release, while the development branch is used for ongoing development. Feature branches are created from the development branch, and once completed, they are merged back into development. When a release is ready, a release branch is created from development and eventually merged into the master. Hotfix branches are used to address critical issues in production and are merged directly into the master.
The benefits of the Gitflow workflow include its structured approach to managing releases and addressing production issues. This model is well-suited for projects with strict release schedules or those requiring a high degree of stability.
To set up the Gitflow workflow, consider using a Git extension like "git-flow," which automates the process and enforces best practices. For a more organized version control history, explore techniques like Git squash commit to enhance code quality.
4. Forking Workflow
The forking workflow is commonly used in open-source projects and encourages collaboration by allowing contributors to work independently. In this model, each developer forks the main repository, creating their own copy. They make changes in their fork and submit pull requests to the original repository when their work is complete.
Benefits of the forking workflow include its ability to support a large number of contributors and its emphasis on maintaining a clean and stable main repository. This workflow is particularly useful for open-source projects, where developers from different backgrounds and skill levels contribute.
To set up the forking workflow, follow these steps:
- Fork the main repository to create a personal copy.
- Clone the forked repository locally and make changes.
- Push the changes to the forked repository.
- Submit a pull request to the main repository, requesting that your changes be merged.
- To keep your fork up-to-date with the main repository, regularly fetch and merge changes. Additionally, ensure that you communicate with the project maintainers and follow the project's guidelines for submitting pull requests.
5. Pull Request Workflow
The pull request workflow is centered around the concept of code reviews and collaboration. In this model, developers create branches for their work and submit pull requests when their changes are ready for review. Team members review the changes, provide feedback, and approve or request modifications before the changes are merged into the main branch.
Benefits of the pull request workflow include improved code quality, knowledge sharing, and a collaborative development process. This workflow is often used in conjunction with other workflows, like the feature branch workflow or the Gitflow workflow.
To set up the pull request workflow, follow these steps:
- Create a new branch for your work, following your engineering team's naming conventions.
- Make changes and commit them to the new branch.
- Push the branch to the remote repository and create a pull request.
- Reviewers provide feedback, and the author addresses any requested changes.
- Once approved, the pull request is merged into the main branch.
- Best practices for pull requests include providing a clear and concise description, keeping the scope of the changes small and focused, and addressing feedback promptly.
[Read more: Pull request Best Practices]
Conclusion
In this article, we've explored five different Git workflows that can help you deliver better code. The centralized workflow is simple and easy to adopt, the feature branch workflow emphasizes the isolation of feature development, the Gitflow workflow is suitable for complex projects with strict release schedules, the forking workflow is ideal for open-source projects, and the pull request workflow emphasizes code reviews and collaboration.
Selecting the right workflow for your team is essential to harnessing the power of Git and streamlining your development process. Experiment with these workflows to find the one that best suits your team's needs and helps you deliver high-quality software efficiently.
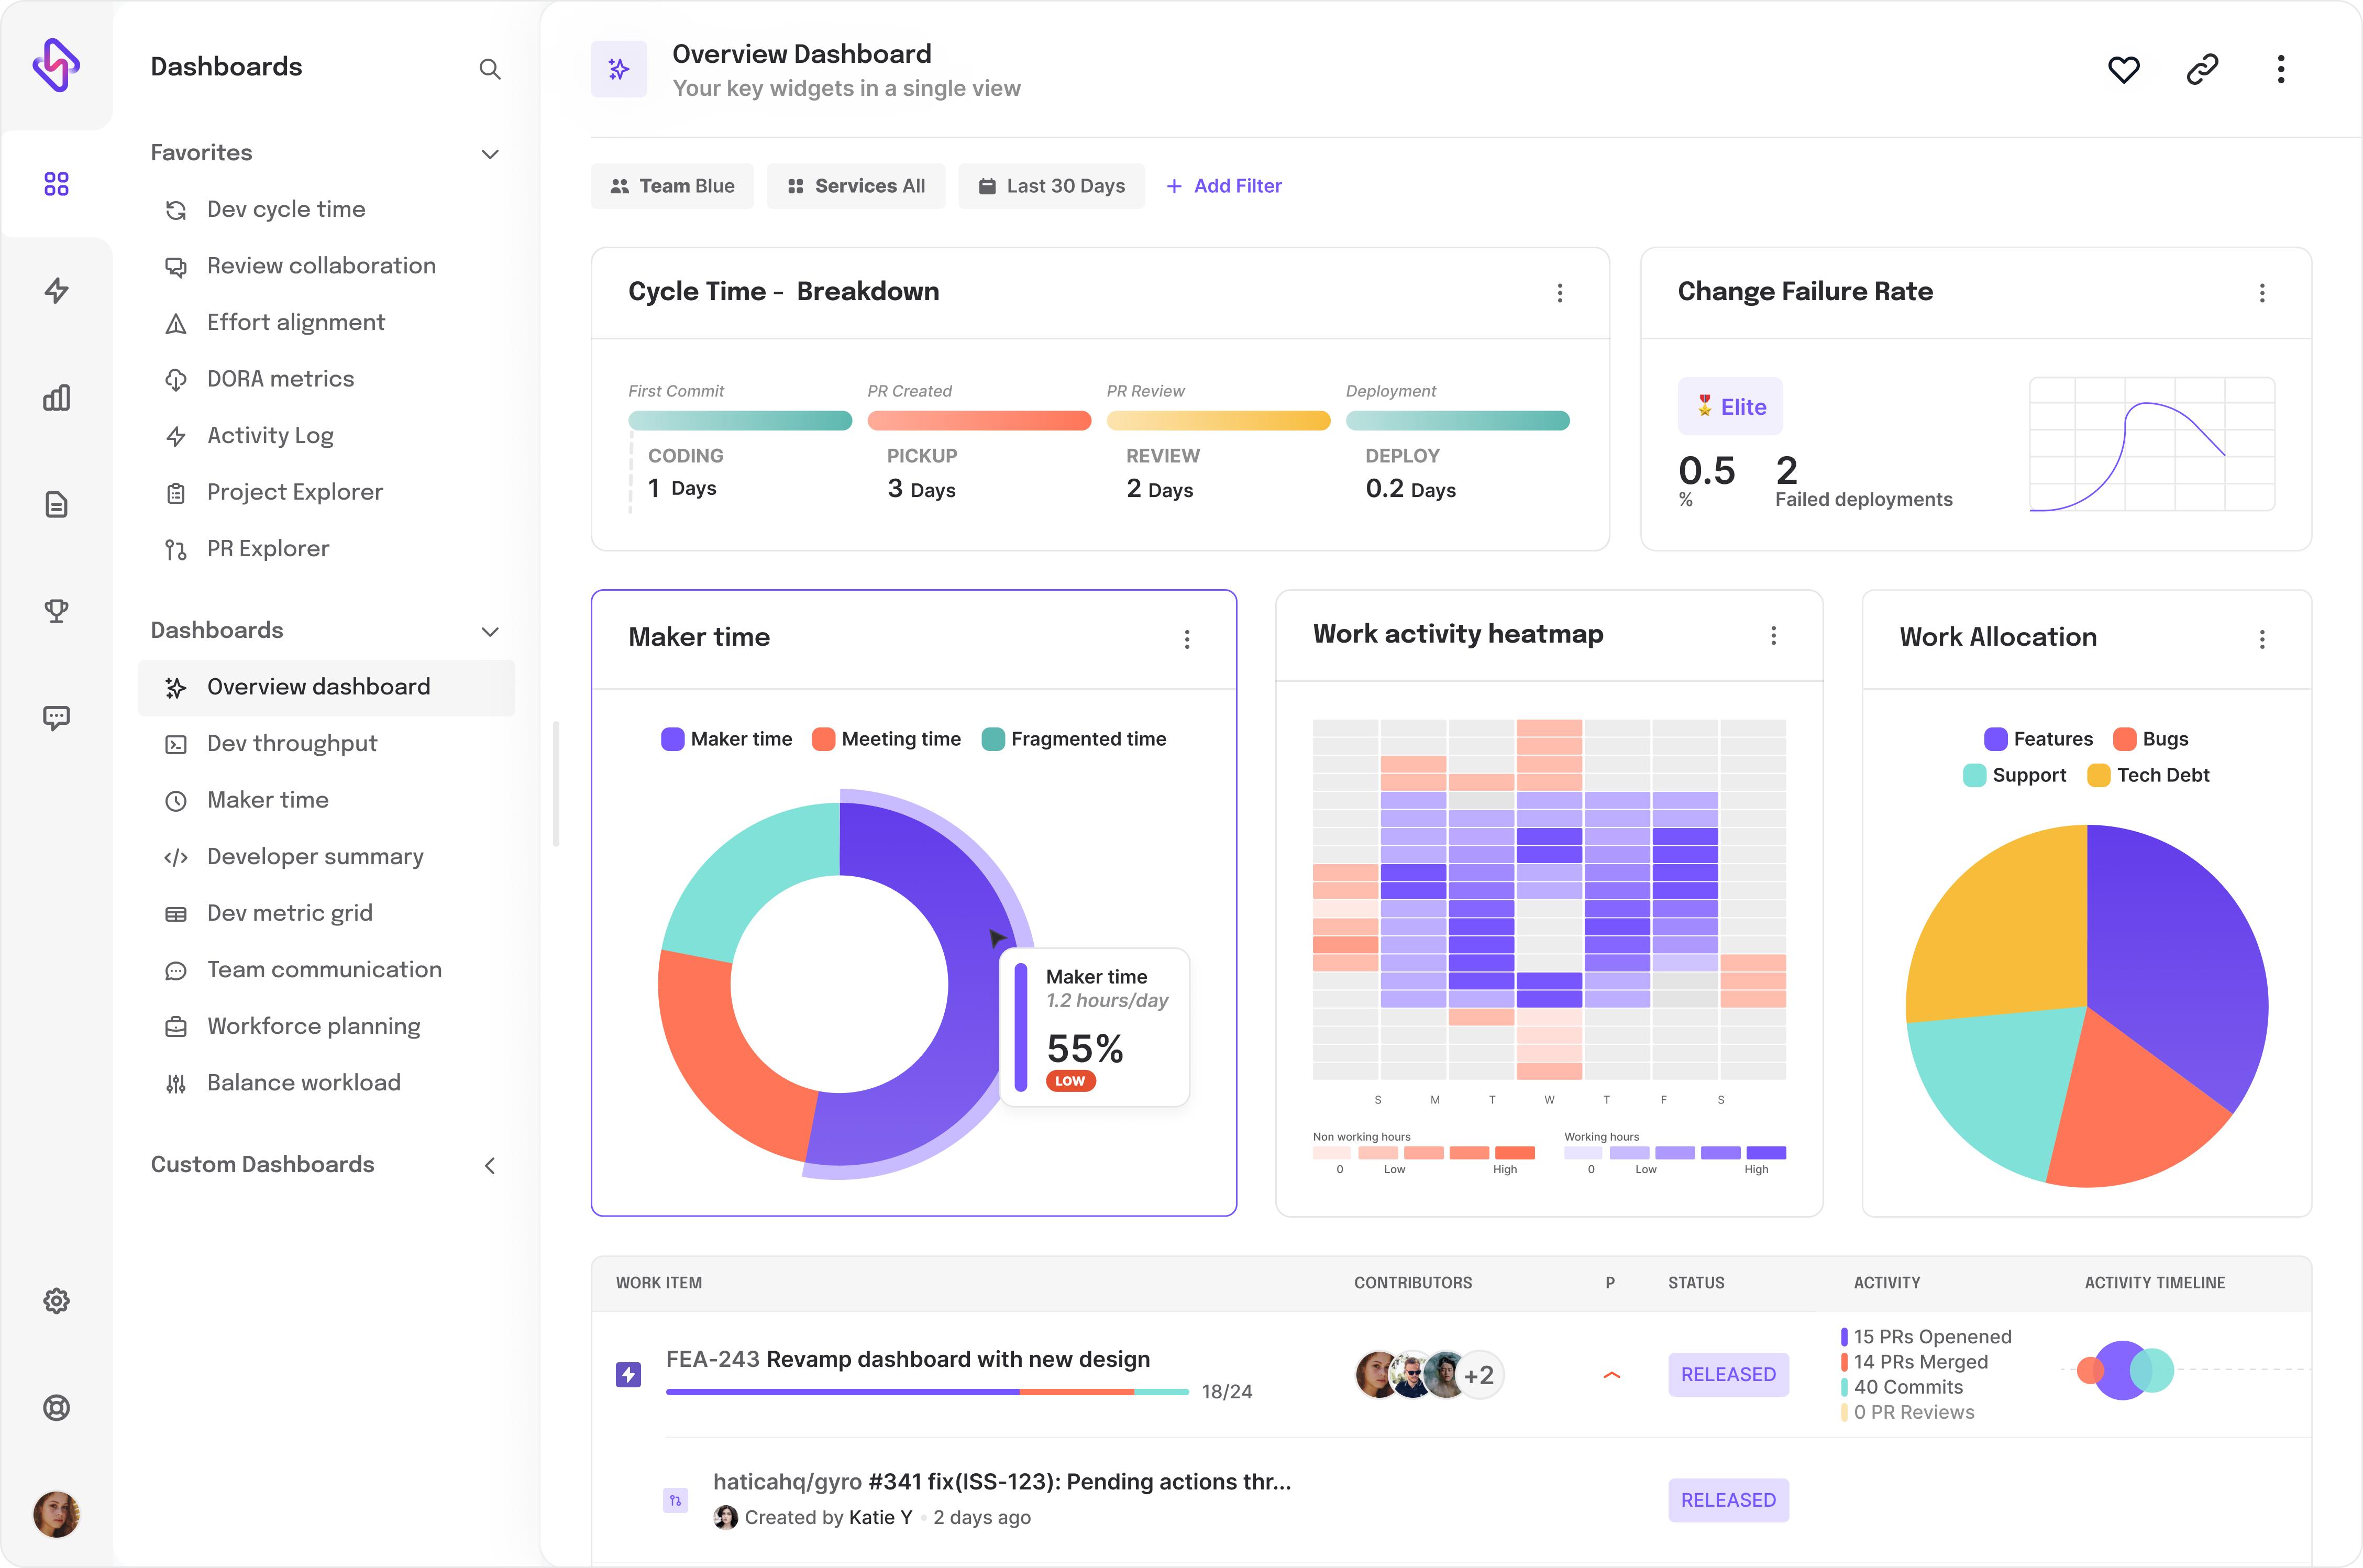
However, simply using Git, might not be enough to get the best out of your project space, an engineering analytics tool can equip you with the data-driven insights you need to place your team on top. Hatica offers metrics across 13 dashboards, powered by CI/CD tools, Jira, GitHub, Azure, CircleCI, and GitLab. By collating tool activities at one place, Hatica helps teams streamline their workflow and improve productivity.
Subscribe to the Hatica blog today to read more about unblocking developers, and boosting productivity with engineering analytics.
FAQs
1. What is a Git Workflow?
A Git workflow is essentially a set of guidelines or a process that a team follows to manage their code using Git. It dictates how code is organized, how changes are made and merged, and how branches are structured. Different workflows suit different teams, depending on factors like team size, project complexity, and release cycles.
2. What are the 3 states of a Git workflow?
In Git, there are three primary states that your files can be in as part of the workflow:
- Modified – A file has been changed but not yet committed to the local repository.
- Staged – The file has been marked to go into the next commit.
- Committed – The file has been safely saved in the local Git repository.
3. What is the best workflow for Git?
There isn't a "one-size-fits-all" answer when it comes to choosing the best Git workflow. The right workflow depends on your team's needs. For smaller teams or those new to Git, a centralized workflow might be the best option due to its simplicity. For larger, more complex projects, Gitflow provides a more structured approach, while the feature branch or pull request workflows are excellent for teams that prioritize collaboration and code quality.