Step 5: Setup email notifications
In order to ensure that tickets are handled in a timely manner, it's important to set up email notifications. Jira Service Desk allows you to configure email notifications for different events, such as when a ticket is created, when a comment is added, or when a ticket is resolved. This ensures that team members are aware of new tickets and can respond in a timely manner.
Select "Notifications" from the left sidebar of the project settings. Make sure you choose the notification scheme you want to use or create a new one based on your preferences. Choose the events you want to be notified about. To update the notification scheme, click "Save".
Step 6: Create reports and dashboards
To monitor the performance of your ticketing system, it's important to create reports and dashboards. Jira Service Desk allows you to create various reports such as ticket volume, resolution time, and customer satisfaction. This allows you to track metrics such as ticket volume, resolution time, and customer satisfaction, and make data-driven decisions to improve the performance of the system.
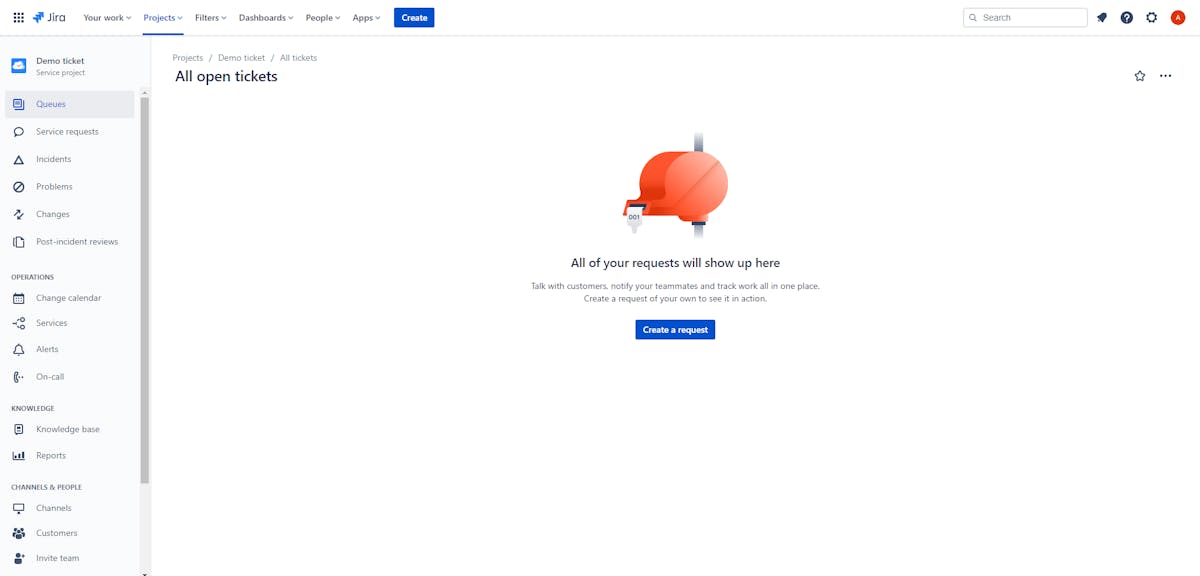
Choose "Reports" or "Dashboards" from the left sidebar of the project settings. Select the type of report you want to create, such as a pie chart or a bar chart, by clicking the "Create" button. Enter the report's necessary details.
To create a new dashboard, click the "Create" button, give it a name, and choose the desired layout to start a new dashboard. Configure gadgets on the dashboard as necessary, such as by adding a filter or a particular report. To create the report or the dashboard, click "Save."
Thing to Keep in Mind Before Implementing Jira Ticketing System
Assess your needs: Before implementing a ticketing system, it's important to assess your organization's needs. This includes understanding what type of tickets you need to manage, the volume of tickets you expect to receive, and the level of customization and automation you require. This information will help you determine which features and settings in Jira will be most beneficial for your organization.
Plan the implementation: Once you have assessed your needs, you can begin planning the implementation. This includes determining which teams will be responsible for managing tickets, setting up queues and channels for receiving and routing tickets, and configuring the workflows, issue types, and custom fields in Jira.
Train your team: Once the system is set up and tested, it's important to train your team members on how to use it. This includes creating and managing tickets, using queues and channels, and making use of Jira's other features.
Common Issues When Setting Up a Ticketing System in Jira
Creating and running a ticketing system within Jira can sometimes pose challenges. Here are a few common problems that people encounter during this setup, along with solutions:
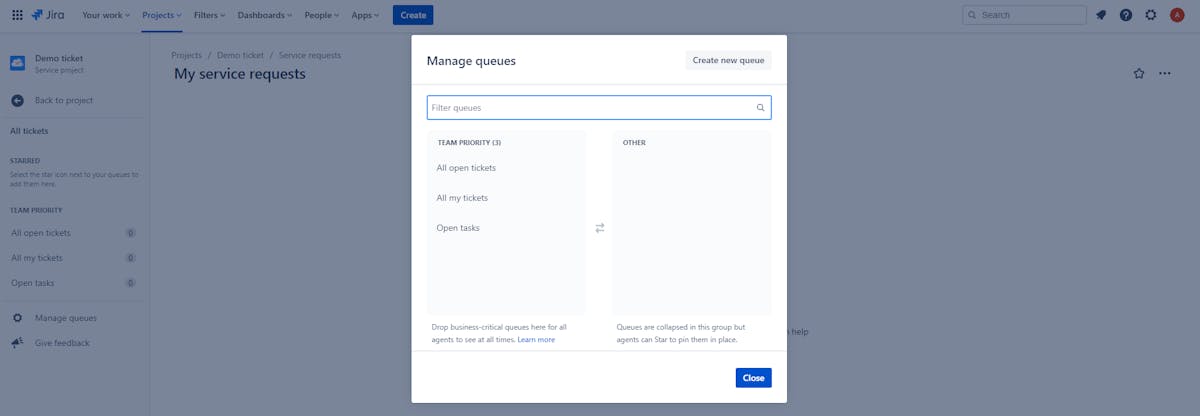
Problem 1: Prioritizing New Ticket Requests
In the beginning, managing tickets may seem straightforward, especially if you have a single agent handling all requests. However, this approach isn't scalable. To avoid issues later on, it's essential to establish a clear system from the start.
Not all tickets have the same urgency. If you're addressing tickets in the order they arrive, high-priority matters could end up at the bottom of the queue. For example, if you receive 50 new tickets daily and have five agents, they each handle ten tickets. If a high-priority ticket arrives on day three, but agents are still working on day one's tickets, it might not get attention until the following week.
To address this, customize the priority values for different request types. Priorities can include Highest, High, Medium, Low, and Lowest. For instance, bugs should be considered high-priority, while requests for new features may have lower priority.
Problem 2: Managing Similar High-Volume Tickets
As your organization grows, you may encounter numerous similar questions and issues flooding your ticket system. To empower your support agents to clear their queues efficiently, consider implementing Confluence, a complementary solution that's available for free with Jira Service Desk.
Confluence enables you to create a knowledge base for self-service support. Customers and internal users can find answers to common questions without creating new tickets. If they do submit a ticket, your support agents can direct them to relevant articles for quick resolutions.
Problem 3: Managing Workflows
Ticket resolution isn't always a straightforward journey from start to finish; often, it involves several intermediate steps. For example, when a customer reports a software bug, it may need to pass through various parties, including developers and project managers, before being fixed and released as a new software version.
Jira Service Desk simplifies customizing workflows based on the request type, with user-friendly drag-and-drop functionality. Tickets can only move forward in the workflow based on their status. For instance, a "pending" ticket can't transition directly to "done"; it must first move to "work in progress."
For more complex workflows involving multiple agents and processes, take full advantage of Jira's custom workflow management tools.
Efficient Ticketing with Jira Service Desk
Overall, Jira is flexible, and feature-rich. However, it's important to work closely with Jira experts in your organization and/or consult with a certified partner if needed, to make sure the ticketing system is set up correctly, and your team is properly trained to use it efficiently.
With Jira Service Desk, teams can also customize the system to match their specific needs and process. This includes setting up custom fields and forms to collect specific information from customers and automating the process through integration.
In conclusion, creating a ticketing system using Jira Service Desk is a straightforward process that can be completed in a few simple steps. Keep streamlining your customer service process and improving efficiency!
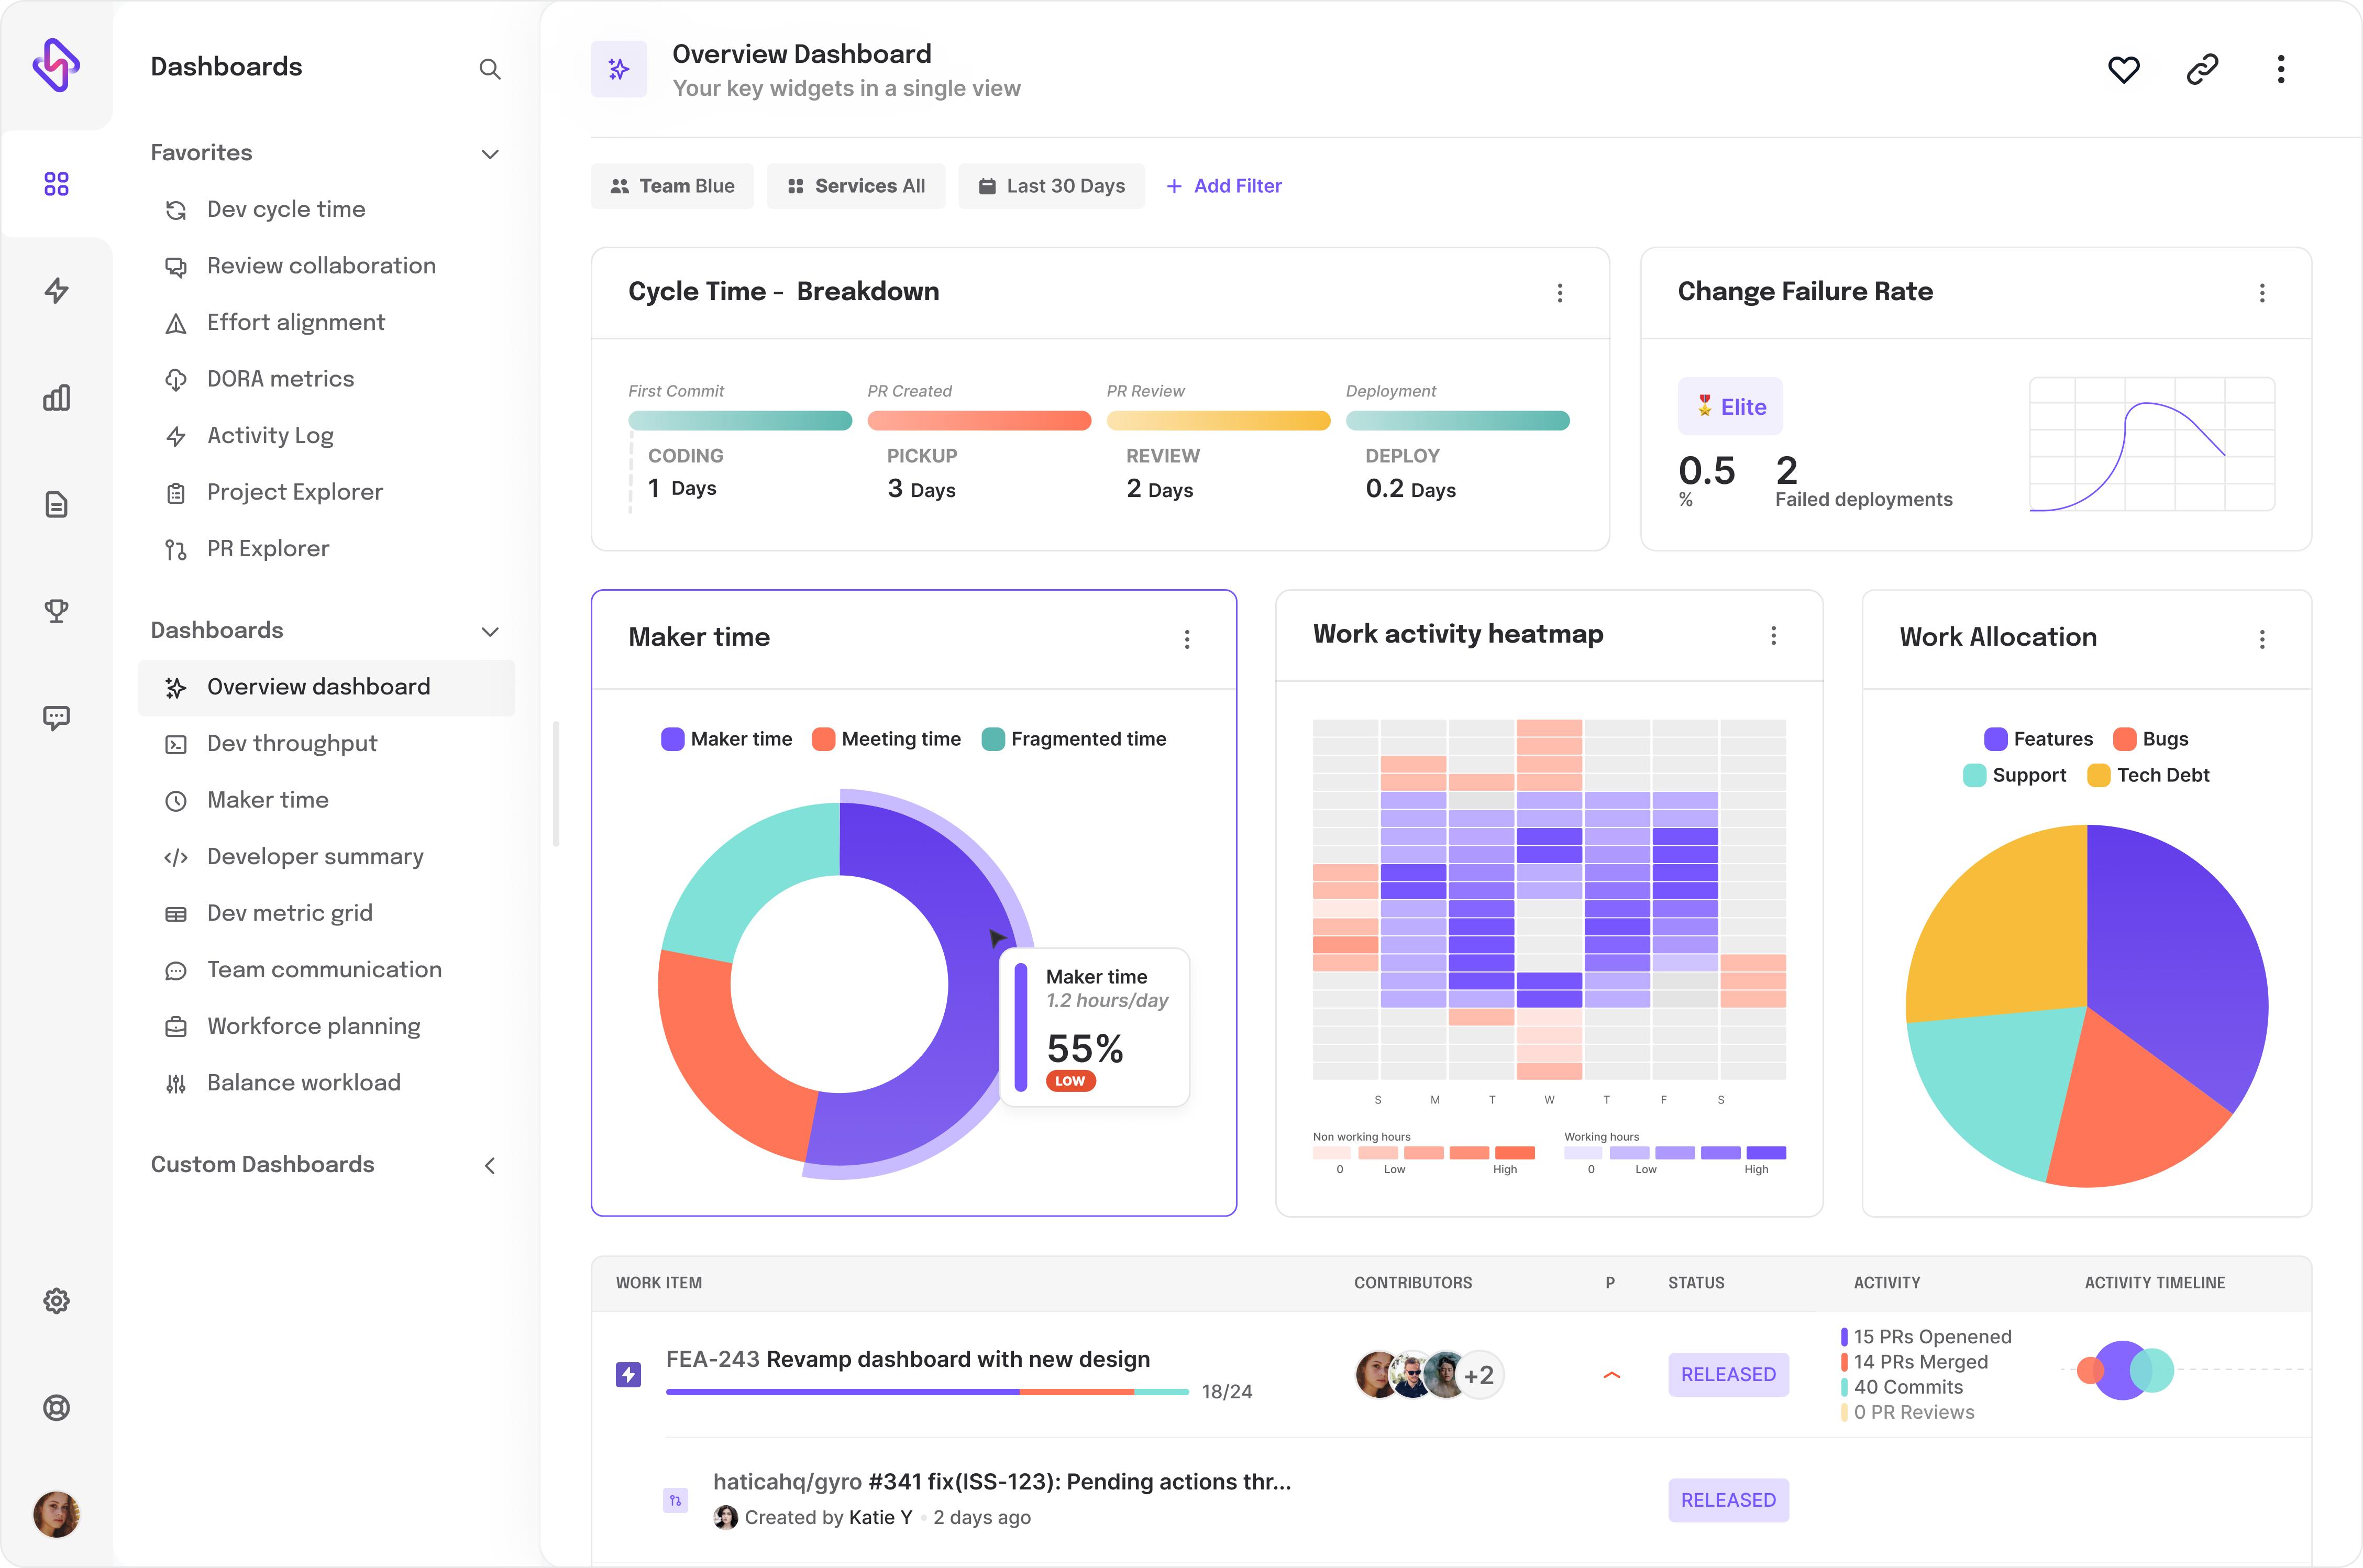
To get maximum efficiency out of Jira, an engineering analytics tool is the need of the hour. Hatica offers metrics across 13 dashboards, powered by CI/CD tools, Jira and GitHub. By collating tool activities at one place, Hatica helps teams streamline their workflow, cut through the clutter of unwanted tickets, and improve productivity. Request a demo with Hatica today!
FAQs
1. Why are Jira tickets used?
In Jira Service Desk, Jira tickets entered by customers are referred to as “requests.” In the Jira Software or Jira Service Desk queue, a request is referred to as the “issue.” Jira Tickets help save time and money as users are capable of recording all issues, communications, and notes in a single tool.
2. What is the workflow in Jira?
In Jira Software, the path your issues take from creation to completion is called workflow. Each workflow is composed of a set of statutes and transitions that your issue moves through during its lifecycle and typically represents work processes within your organization.
3. What are the three types of a Jira workflow?
The three types of workflow rules happen in this order:
- Restrict transition, which happens before someone tries to transition an issue.
- Validate details, which happens when someone tries to transition an issue.
- Perform actions, which happens after someone transitions the issue.