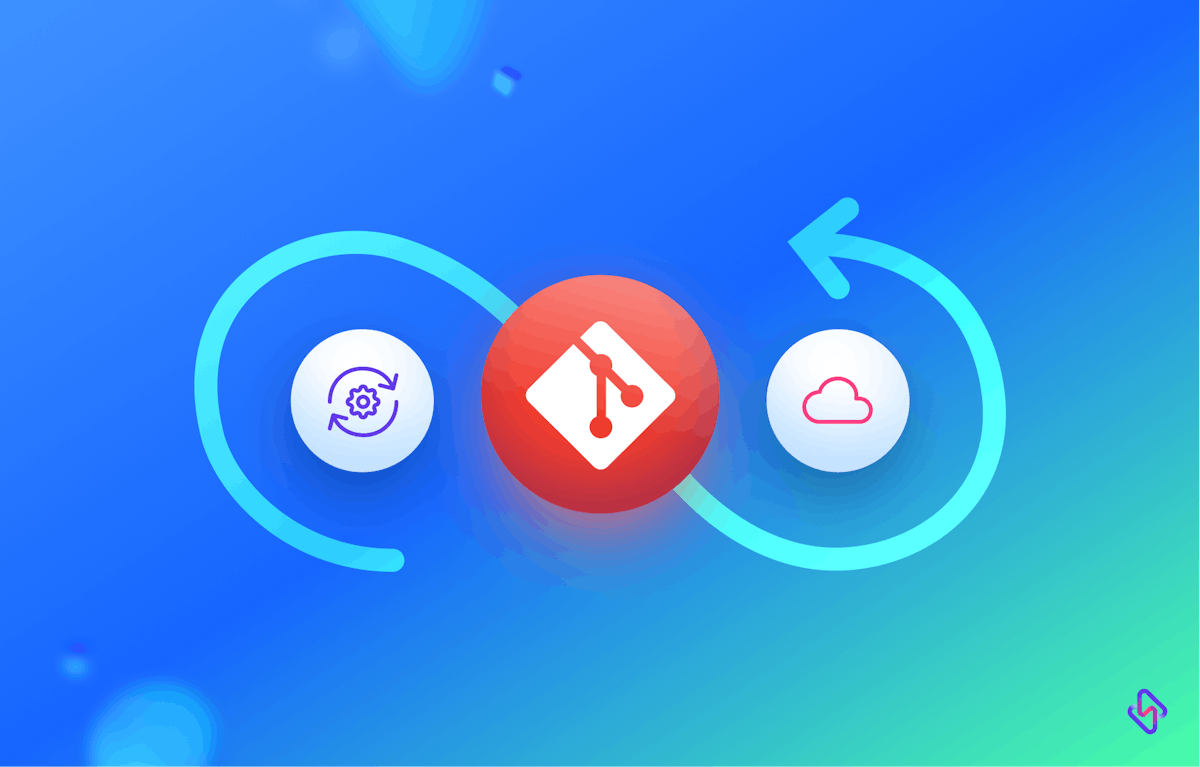
GitOps is an operational framework that combines the power of the Git version control system with declarative infrastructure and continuous delivery. It brings together development and operations teams, enabling them to collaborate effectively and deliver software applications in a more streamlined and automated manner.
GitLab, a popular DevOps platform, provides comprehensive features and integrations to implement GitOps effectively. In this article, we will explore how to implement GitOps with GitLab and harness its capabilities to enhance software delivery and operations.
Understanding GitOps
GitOps is a methodology that leverages Git as the single source of truth for both application code and infrastructure configuration. It promotes the use of declarative infrastructure as code and ensures that all changes to the system are triggered through git-based pull requests. The core principles of GitOps include:
- Infrastructure as Code: Define infrastructure resources, configurations, and policies using code, typically in formats like YAML. This ensures reproducibility, versioning, and reviewability of infrastructure changes.
- Git as a Single Source of Truth: Store all infrastructure and application code in a Git repository. This allows for version control, history tracking, and collaboration among team members.
- Continuous Delivery: Use git-based workflows to trigger automated deployments and updates. Changes made to the Git repository trigger the deployment pipeline, ensuring consistency and eliminating manual steps.
Leveraging GitLab for GitOps
GitLab offers a comprehensive set of features and integrations that facilitate the implementation of GitOps workflows. Let's explore the key components and functionalities of GitLab that enable GitOps:
1. GitLab CI/CD
GitLab provides a robust continuous integration and continuous deployment (CI/CD) system integrated directly into the platform. This enables you to define deployment pipelines as code, trigger builds on code changes, and automates the delivery process.
2. Infrastructure as Code (IaC) Support
GitLab integrates with infrastructure provisioning tools like Terraform, enabling you to define infrastructure resources and configurations as code. You can store and version infrastructure code in GitLab repositories, ensuring consistency and traceability.
3. Environment Management
GitLab allows you to define and manage different environments (e.g., development, staging, production) within the platform. Each environment can have its own infrastructure and application configurations, allowing for easy promotion of changes across stages.
4. Merge Request Workflow
GitLab's merge request (MR) workflow is a key component of GitOps. It enforces the use of pull requests for changes to the system. MRs trigger automated tests, reviews, and deployments, ensuring that all changes go through a defined review and approval process.
5. GitLab Runners
GitLab Runners are agents that execute CI/CD jobs. They can be deployed on various platforms, including cloud providers, Kubernetes clusters, and on-premises infrastructure. GitLab Runners enable the execution of deployment pipelines, providing scalability and flexibility.
Implementing GitOps with GitLab
Now that we understand the key components of GitLab for GitOps, let's walk through the steps to implement GitOps using GitLab. For the sake of this article, I’ll be illustrating deploying a node.js application to Kubernetes using Helm Charts.
1. Set up the GitLab Repository
Create a GitLab repository to store both application code and infrastructure code. Ensure proper access controls and branch protection rules to enforce a secure and controlled workflow.
- Go to the GitLab homepage: https://gitlab.com/
- Sign in to your GitLab account. If you don't have an account, you can create one by clicking on the "Register" button.
- Once you're signed in, you'll be redirected to your GitLab dashboard. On the left-hand side, click on the "+" button or the "New project" button to create a new repository.
- On the "New Project" page, you can choose between creating a blank project or importing a project from a repository host or URL.
Once the repository is created, you can clone it locally, add files, and start pushing your code using Git commands or GitLab's web interface.
2. Define CI/CD Pipelines
Create GitLab CI/CD configuration files (e.g., .gitlab-ci.yml) to define your deployment pipelines. These files specify the stages, jobs, and steps required to build, test, and deploy your application. Leverage GitLab's extensive library of CI/CD templates for common use cases, code below.
stages:
- build

  - test

  - deploy

variables:

  ENVIRONMENT: "production"

  DOCKER_IMAGE_TAG: "$CI_COMMIT_SHORT_SHA"

build:

  stage: build

  script:

    - npm ci

    - npm run build

test:

  stage: test

  script:

    - npm run test

deploy:

  stage: deploy

  script:

    - echo "Deploying to $ENVIRONMENT"

    - helm upgrade --install my-app ./helm-charts/my-app

  only:

    - master
In this example, the CI/CD pipeline builds and tests a Node.js application. Upon successful testing, it deploys the application to a Kubernetes cluster using Helm. The Helm chart for the application is stored in the ./helm-charts/my-app directory within the repository.
2. Infrastructure as Code
Define your infrastructure resources and configurations using tools like Terraform, Ansible, or CloudFormation. Store the infrastructure code in the GitLab repository, allowing for versioning and reviewability. We will use Infrastructure Provisioning with Terraform and Ansible for this.
stages:
- plan

  - deploy

variables:

  AWS_ACCESS_KEY_ID: "<AWS_ACCESS_KEY>"

  AWS_SECRET_ACCESS_KEY: "<AWS_SECRET_ACCESS_KEY>"

  TF_WORKSPACE: "production"

plan:

  stage: plan

  image: hashicorp/terraform:latest

  script:

    - terraform init -backend-config="bucket=my-terraform-state"

    - terraform workspace select $TF_WORKSPACE || terraform workspace new $TF_WORKSPACE

    - terraform plan -out=tfplan

  only:

    - master

deploy:

  stage: deploy

  image: hashicorp/terraform:latest

  script:

    - terraform workspace select $TF_WORKSPACE || terraform workspace new $TF_WORKSPACE

    - terraform apply -auto-approve tfplan

  only:

    - master
In this example, the CI/CD pipeline provisions infrastructure resources on AWS using Terraform. The pipeline selects the appropriate Terraform workspace based on the TF_WORKSPACE variable and then executes the plan and applies commands. The necessary AWS access credentials are securely stored in GitLab CI/CD variables.
3. Environment Configuration
Utilize GitLab's environment management capabilities to define different environments (e.g., dev, staging, prod) and associate them with specific branches or tags in your Git repository. Configure the necessary infrastructure and application settings for each environment. To add a CI/CD variable in GitLab:
Go to your project's Settings > CI/CD.

Expand the "Variables" section.

Add a new variable with a key-value pair, where the value represents your secret.

deploy:

  stage: deploy

  script:

    - echo $API_KEY > api_key.txt

    - # Use the secret in your deployment script
4. Merge Request Workflow
Enforce the use of merge requests for all changes to the Git repository. Configure merge request approvals, automated tests, and code reviews to ensure the quality and compliance of your deployments.
stages:

  - build

  - test

  - review

variables:

  ENVIRONMENT: "developement"

  DOCKER_IMAGE_TAG: "$CI_COMMIT_SHORT_SHA"

build:

  stage: build

  script:

    - npm ci

    - npm run build

test:

  stage: test

  script:

    - npm run test

review:
stage: review

  script:

    - echo "Deploying review app to $ENVIRONMENT"

    - docker build -t my-app:$DOCKER_IMAGE_TAG .

    - docker push my-registry/my-app:$DOCKER_IMAGE_TAG

  environment:

    name: review/$CI_COMMIT_REF_NAME

    url: https://review.example.com/$CI_COMMIT_REF_NAME

  only:

    - branches

  except:

    - master
In this example, the CI/CD pipeline includes a review stage that deploys a review app for each branch, except the master branch. The review app is created with the name of the branch. This allows for easy review and testing of changes before merging into the main branch. To enforce code reviews and approvals for merge requests, you can configure GitLab's merge request settings within your GitLab project.
- Go to your GitLab project's Settings > General > Merge Requests.
- Enable "Merge requests approvals" and specify the number of required approvals for merging.
- Enable "Pipelines must succeed" to ensure that the CI/CD pipeline passes successfully before allowing merging.
- Optionally, enable "Merge request approvals by code owners" to automate the approval process based on specified code owners.
With this setup, when a developer creates a merge request, the workflow is enforced and the CI/CD pipeline is triggered automatically, running the build and test stages.
The merge request cannot be merged until the specified number of approvals is obtained.
Code owners (if enabled) automatically receive approval requests.
Reviewers can leave comments, suggestions, or requests for changes directly in the merge request. Once all conditions are met (successful pipeline, required approvals, etc.), the merge request can be merged into the target branch.
To carry out tests, here’s the yml configuration.
stages:

  - build

  - test

build:

  stage: build

  script:

    - npm ci

    - npm run build

unit-test:

  stage: test

  script:

    - npm run test:unit

integration-test:

  stage: test

  script:

    - npm run test:integration
5. GitOps Automation
Utilize GitLab CI/CD triggers or webhooks to automatically deploy applications whenever changes are merged into the main branch or specific branches. GitLab Runners execute the defined deployment pipelines, ensuring consistent and repeatable deployments. Manage multi-stage deployments with subsequent releases. Here’s the yml configuration.
stages:

  - build

  - test

  - deploy-obs

  - deploy-production

variables:

  IMAGE_TAG: "$CI_COMMIT_SHORT_SHA"

build:

  stage: build

  script:

    - docker build -t my-app:$IMAGE_TAG .

    - docker push my-registry/my-app:$IMAGE_TAG

test:

  stage: test

  script:

    - echo "Running integration tests"

deploy-obs:

  stage: deploy-obs

  script:

    - echo "Deploying release for observation"

    - helm upgrade --install my-app-obs ./helm-charts/my-app --set image.tag=$IMAGE_TAG-obs

  only:

    - tags

deploy-production:

  stage: deploy-production

  script:

    - echo "Deploying production release"

    - helm upgrade --install my-app-production ./helm-charts/my-app --set image.tag=$IMAGE_TAG

  only:

    - master
6. Monitoring and Observability
Implement monitoring and observability solutions to track the health and performance of your deployed applications. GitLab integrates with popular monitoring tools, enabling you to visualize metrics and alerts within the platform. If you're using Prometheus as your monitoring solution, you can instrument your application to expose metrics, and then configure GitLab to scrape and visualize those metrics.
For our example node.js application:
const express = require('express');

const prometheus = require('prom-client');

const app = express();

const port = process.env.PORT || 3000;

const counter = new prometheus.Counter({

  name: 'my_app_requests_total',

  help: 'Total number of requests',

});

app.get('/', (req, res) => {

  counter.inc();

  res.send('Hello, World!');

});

app.get('/metrics', (req, res) => {

  res.set('Content-Type', prometheus.register.contentType);

  res.end(prometheus.register.metrics());

});

app.listen(port, () => {

  console.log(`Server running on port ${port}`);

});
The application uses the Prometheus client library to create a counter metric that increments every time the root endpoint is accessed. The /metrics endpoint exposes the application's metrics in the Prometheus format.
To configure GitLab to scrape and visualize the metrics:
- Go to your GitLab project's Settings > Operations > Metrics.
- Enable "Prometheus Metrics" and provide the URL for your application's /metrics endpoint.
GitLab will scrape the metrics and provide a built-in dashboard for visualizing them.
If you're using Grafana for visualization and alerting, you can configure GitLab to send alert notifications based on specific metric thresholds. For example:
alert:

  image: prom/alertmanager:v0.23.0

  ports:

    - 9093:9093

  volumes:

    - ./alertmanager.yml:/etc/alertmanager/config.yml
prometheus:

  image: prom/prometheus:v2.30.3

  ports:

    - 9090:9090

  volumes:

    - ./prometheus.yml:/etc/prometheus/prometheus.yml
In this example, the GitLab CI/CD configuration includes two services: alert manager and Prometheus. You can customize the alertmanager.yml and prometheus.yml files to define alerting rules, notification channels, and data sources to your taste.
To set up alerting:
- Configure your Grafana instance to connect to the Prometheus data source.
- Define alerting rules in the prometheus.yml file and specify the alerting rules file in the GitLab CI/CD configuration.
- Customize the alertmanager.yml file to configure notification channels, such as email, Slack, or other integrations.
GitLab will trigger alerts based on the defined rules, and you can manage and respond to those alerts within GitLab's alert management system.
7. Continuous Improvement
Leverage GitLab's built-in analytics and reporting features to measure and optimize your GitOps workflows. Identify bottlenecks, track deployment metrics, and iterate on your processes to enhance delivery speed and reliability.
Benefits of GitOps with GitLab
Implementing GitOps with GitLab offers numerous benefits for software delivery and operations:
1. Enhanced Collaboration
GitLab's merge request workflow fosters collaboration between development and operations teams, ensuring that all changes are reviewed, tested, and validated.
2. Automation and Efficiency
GitLab's CI/CD system automates the deployment process, reducing manual effort and human error. GitOps enables faster and more reliable software delivery.
3. Infrastructure Consistency
Storing infrastructure code in GitLab repositories ensures consistent and reproducible infrastructure deployments. Version control and review processes provide audibility and traceability.
4. Scalability and Flexibility
GitLab Runners allow for scalable and flexible execution of deployment pipelines, supporting various deployment targets and environments.
5. Security and Compliance
GitLab's access controls, branch protections, and merge request approvals enhance security and compliance by enforcing defined workflows and review processes.
6. Observability and Monitoring
GitLab's integration with monitoring tools enables better visibility into the deployed applications, ensuring timely detection and resolution of issues.
Conclusion
Implementing GitOps with GitLab empowers organizations to streamline software delivery and operations by leveraging Git as the single source of truth. GitLab's comprehensive features, including CI/CD, infrastructure as code support, environment management, and merge request workflows, facilitate the adoption of GitOps principles. By automating deployments, enforcing collaboration, and ensuring infrastructure consistency, GitOps with GitLab enables faster and more reliable software delivery, enhancing the overall efficiency of development and operations teams.