After installation is done for the Jira plugin, navigate to the Jenkins dashboard and select Manage Jenkins -> Configure System. Scroll down to the Jira section and enter the Jira server URL, username, and password.
Next, you move to create API tokens for service calls that will be used by the user to execute calls to Jira clouds.
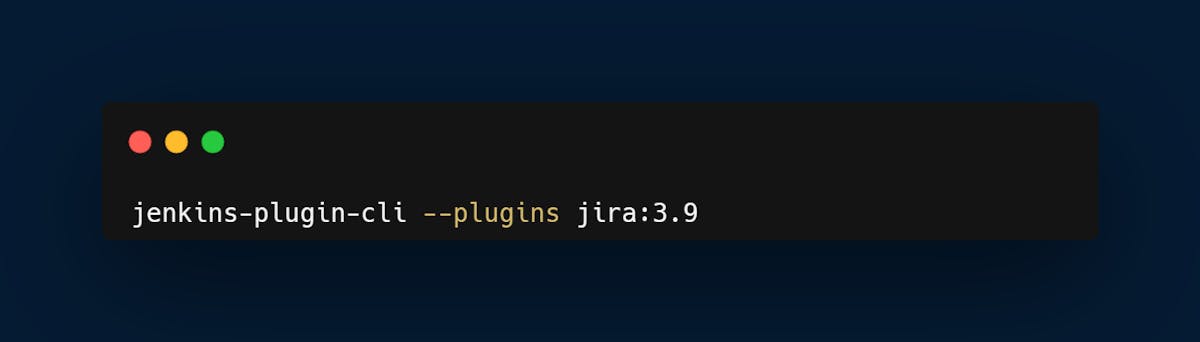
Step 3: Create a Jira API Token
To allow Jenkins to communicate with Jira, you need to create a Jira API token. To do this, log in to your Jira account, click on your profile picture, and select "Account Settings." Next, click on the "Security" tab and select "Create and manage API tokens." Generate a new token and copy it to your clipboard.
Navigate back to the Jenkins dashboard and select Manage Jenkins -> Configure System. Scroll down to the Jira section and enter the Jira server URL, username, and API token.
Now that the Jira Plugin is configured in Jenkins, you can set up a Jira trigger to automatically start a Jenkins build when a Jira issue is updated. To do this, navigate to the Jenkins dashboard and select New Item. Enter a name for the job and select "Freestyle project."
Scroll down to the "Build Triggers" section and select "Jira Trigger." Enter the Jira project key and the JQL (Jira Query Language) filter that you want to use to trigger the build. You can also specify additional build parameters, such as the branch to build or the Maven goals to execute.
The Jira Trigger configuration allows users to set up rules to trigger Jenkins builds when certain Jira events occur. In addition to specifying the Jira project key and JQL filter, users can also define advanced options for the Jira Trigger configuration, such as:
Frequency of Jira polling
By default, Jenkins checks for updates from Jira every minute. However, users can adjust the polling frequency by specifying the number of minutes between each check. This can help reduce the number of unnecessary build triggers and optimize the integration's performance.
Custom JQL queries
Users can define custom JQL queries to filter Jira issues and trigger specific builds. For example, users can set up a Jira Trigger to start a build when a Jira issue with a particular label is updated.
Trigger builds based on specific Jira issue fields:
In addition to the Jira issue status, users can also specify other fields to trigger builds, such as priority, assignee, or fix versions. This can provide more granular control over when Jenkins builds are triggered.
Step 6: Test the Integration
To test the integration, update an issue in Jira that matches the JQL filter you specified in the Jira trigger. This should trigger the Jenkins build to start automatically.
Jenkins has several plugins that can be integrated with Jira to enhance the integration's capabilities. Some of these plugins include:
JiraTestResultReporter
This plugin enables Jenkins to report test results to Jira. With this plugin, users can configure Jenkins to automatically update the Jira issue with the test results and link the test results to the Jira issue.
Jira Cloud Plugin
This plugin enables Jira to display information from Jenkins builds, such as build status, build number, and build duration. With this plugin, users can view Jenkins build information directly within Jira and easily navigate between Jira issues and Jenkins builds.
Jira Pipeline Steps
This plugin provides a set of Jira-related pipeline steps that users can use to incorporate Jira into their Jenkins Pipeline workflows. For example, users can use the JiraIssueUpdate step to update a Jira issue's status or fields based on the Pipeline's execution.
In case of critical errors or incidents, setting up a PagerDuty alert within your Jenkins can provide immediate notifications for quick response.
Troubleshooting Tips
There’s always a chance to encounter errors or issues during this integration. Here are some troubleshooting tips to help you resolve common issues:
- Verify Jira credentials
Ensure that the Jira server URL, username, and API token are entered correctly in the Jira Plugin configuration in Jenkins. - Review Jenkins Logs
Check the Jenkins logs for any error messages related to the Jira Plugin or Jira Trigger. These error messages can provide insights into the root cause of the issue. - Review Jira Logs
Check the Jira logs for any error messages related to the Jira webhook or REST API. These error messages can help identify any issues with Jira's communication
[ Read Related: Steps to Setup Jenkins Pipeline on AWS ]
Boost Productivity with Jenkins-Jira Integration
Integrating Jenkins with Jira can help streamline the software development process by allowing developers to track issues and monitor progress directly from their Jenkins environment. The steps required to integrate Jenkins with Jira are straightforward, and the benefits of doing so are significant. By following the steps outlined in this article, you can quickly and easily integrate Jenkins with Jira and start enjoying the benefits of streamlined software development.
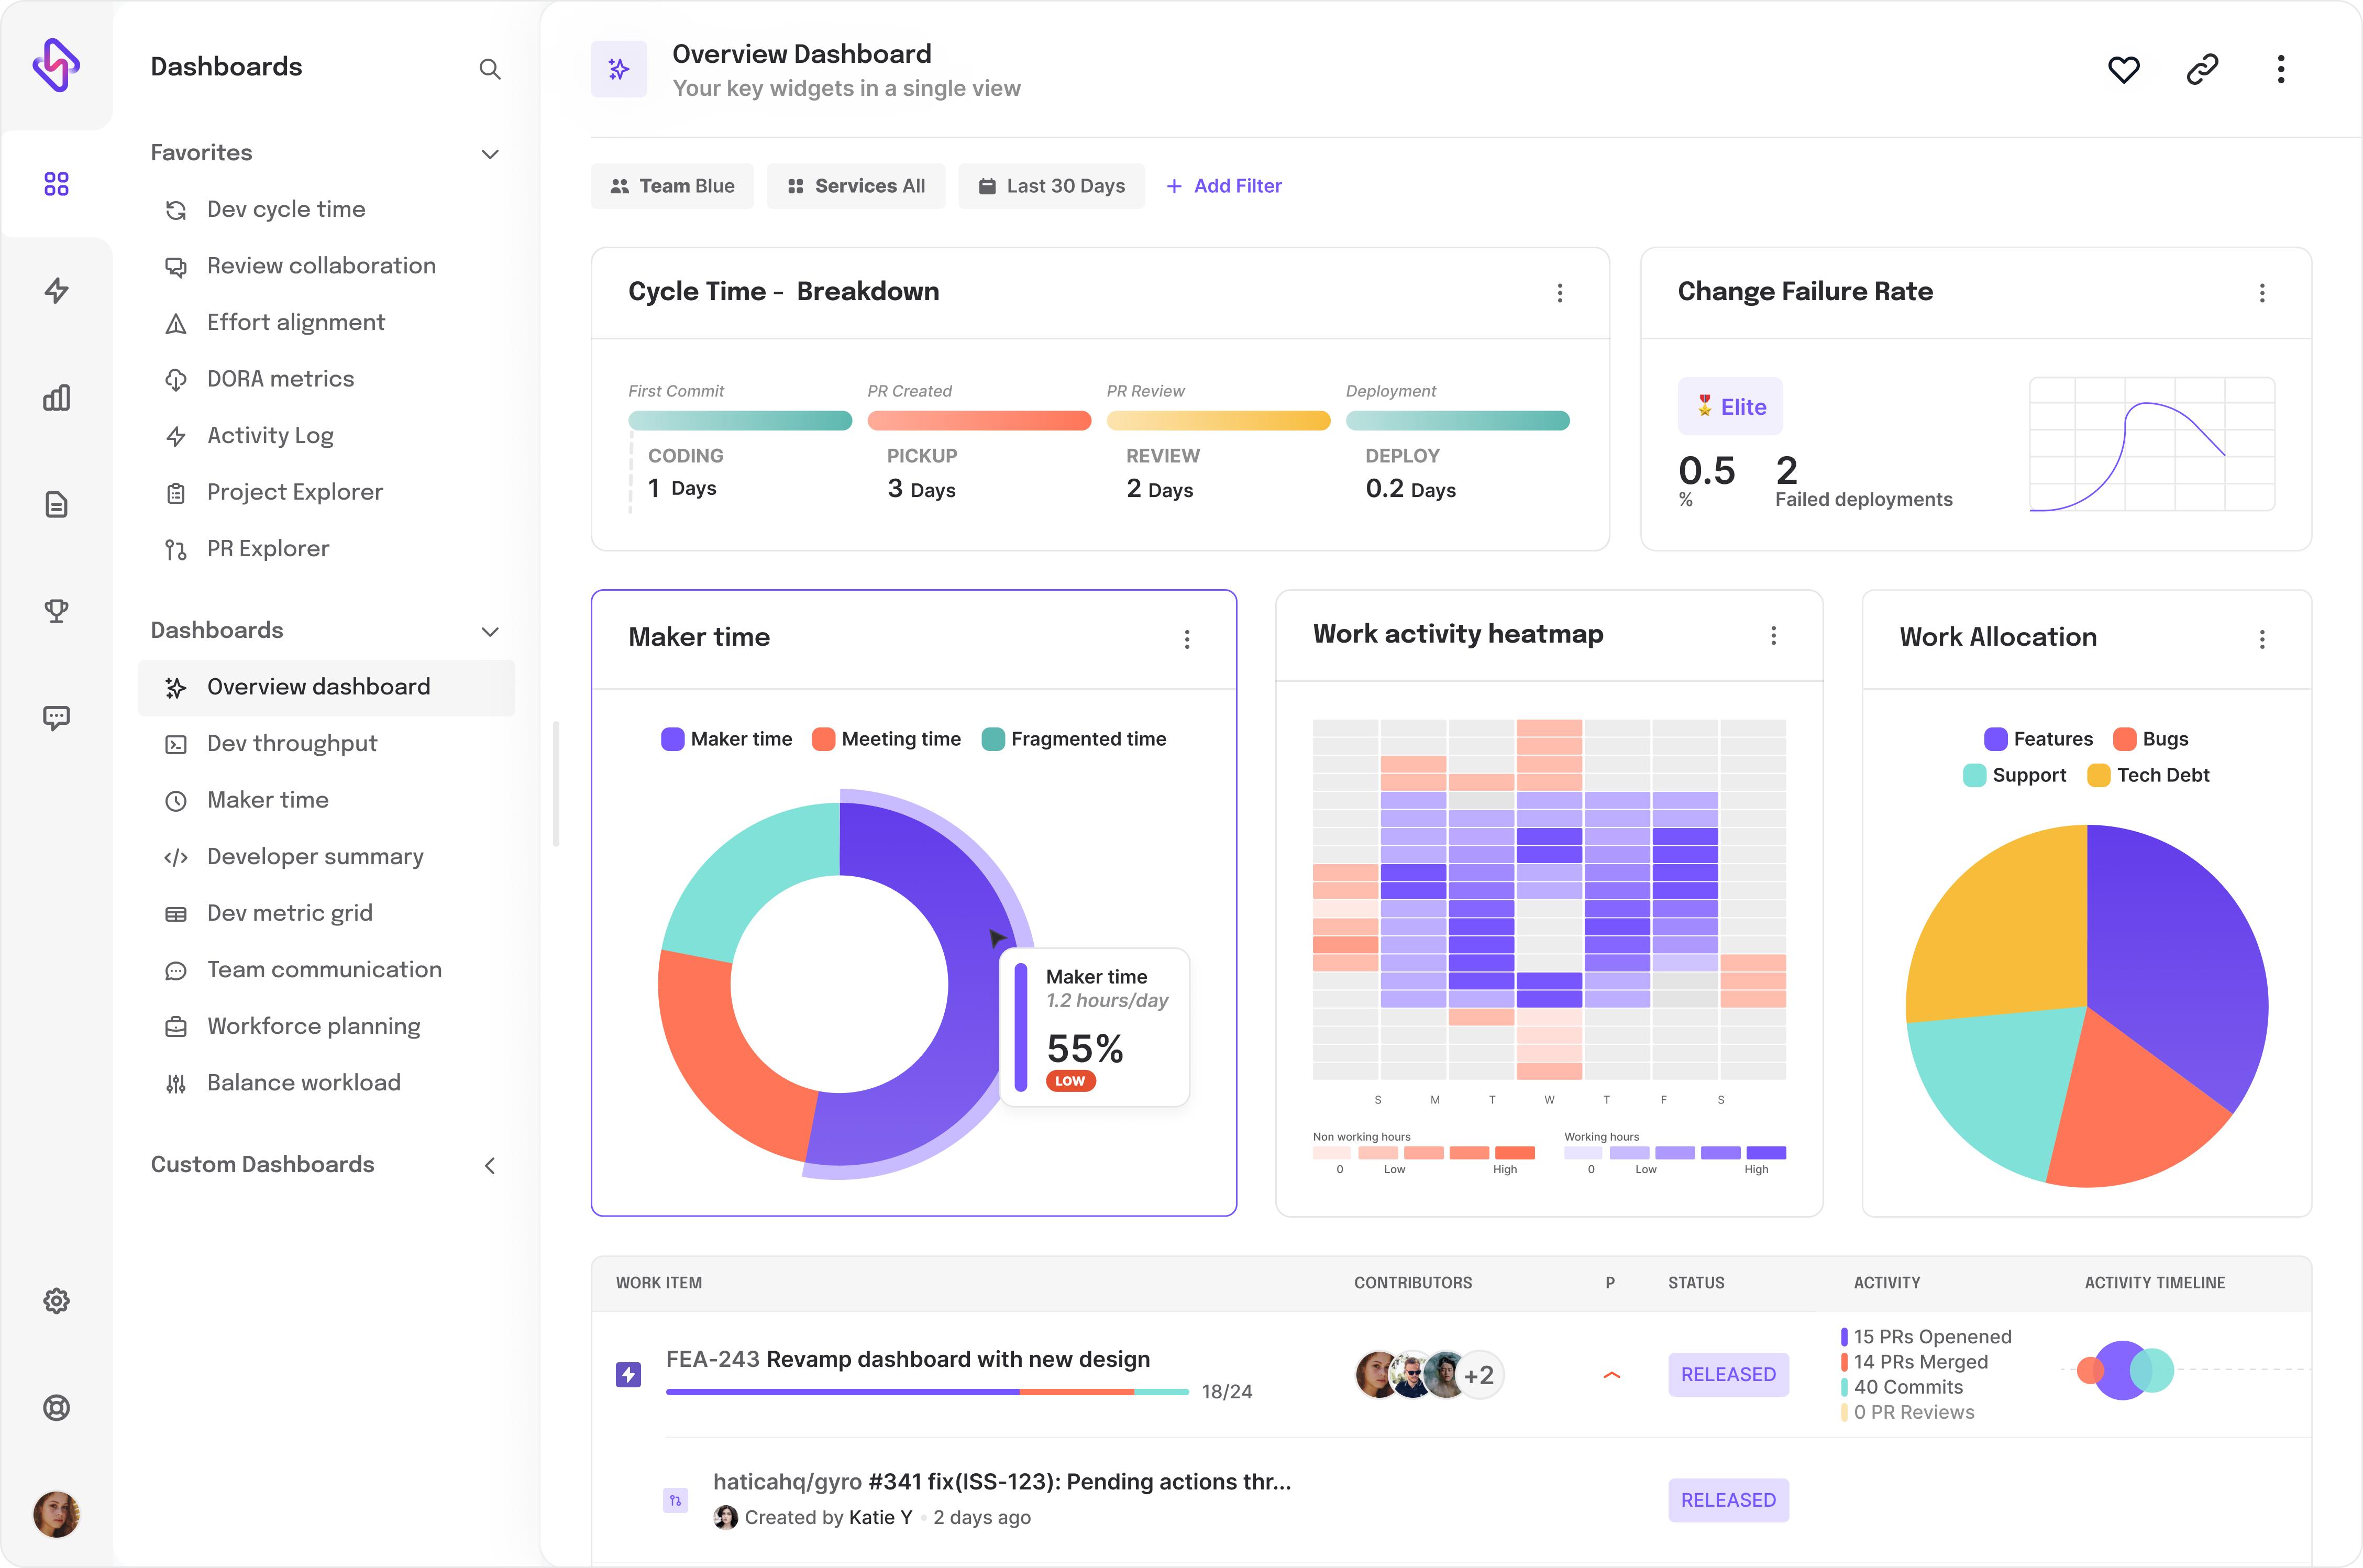
However, simply using Jenkins or Jira, might not be enough to get the best out of your project space, an engineering analytics tool can equip you with the data-driven insights you need to place your team on top. Hatica offers metrics across 13 dashboards, powered by CI/CD tools, Jira, GitHub, Azure, CircleCI, and GitLab. By collating tool activities at one place, Hatica helps teams streamline their workflow and improve productivity.
Subscribe to the Hatica blog today to read more about unblocking developers, and boosting productivity with engineering analytics.