Custom Projects
Setting up projects in Hatica offers several key benefits. You define projects exactly how you need them, using specific boards, labels, initiatives, or custom criteria that match your workflow. This lets you manage and view all your projects in one place, without being limited by the structure of external tools. You also gain more flexibility, allowing you to adjust project scopes, durations, and details directly in Hatica for better project management. The Projects Dashboard (opens in a new tab) in Hatica provides insights tailored to your custom project setup, ensuring you have consistent and relevant data.
Add a new Project
-
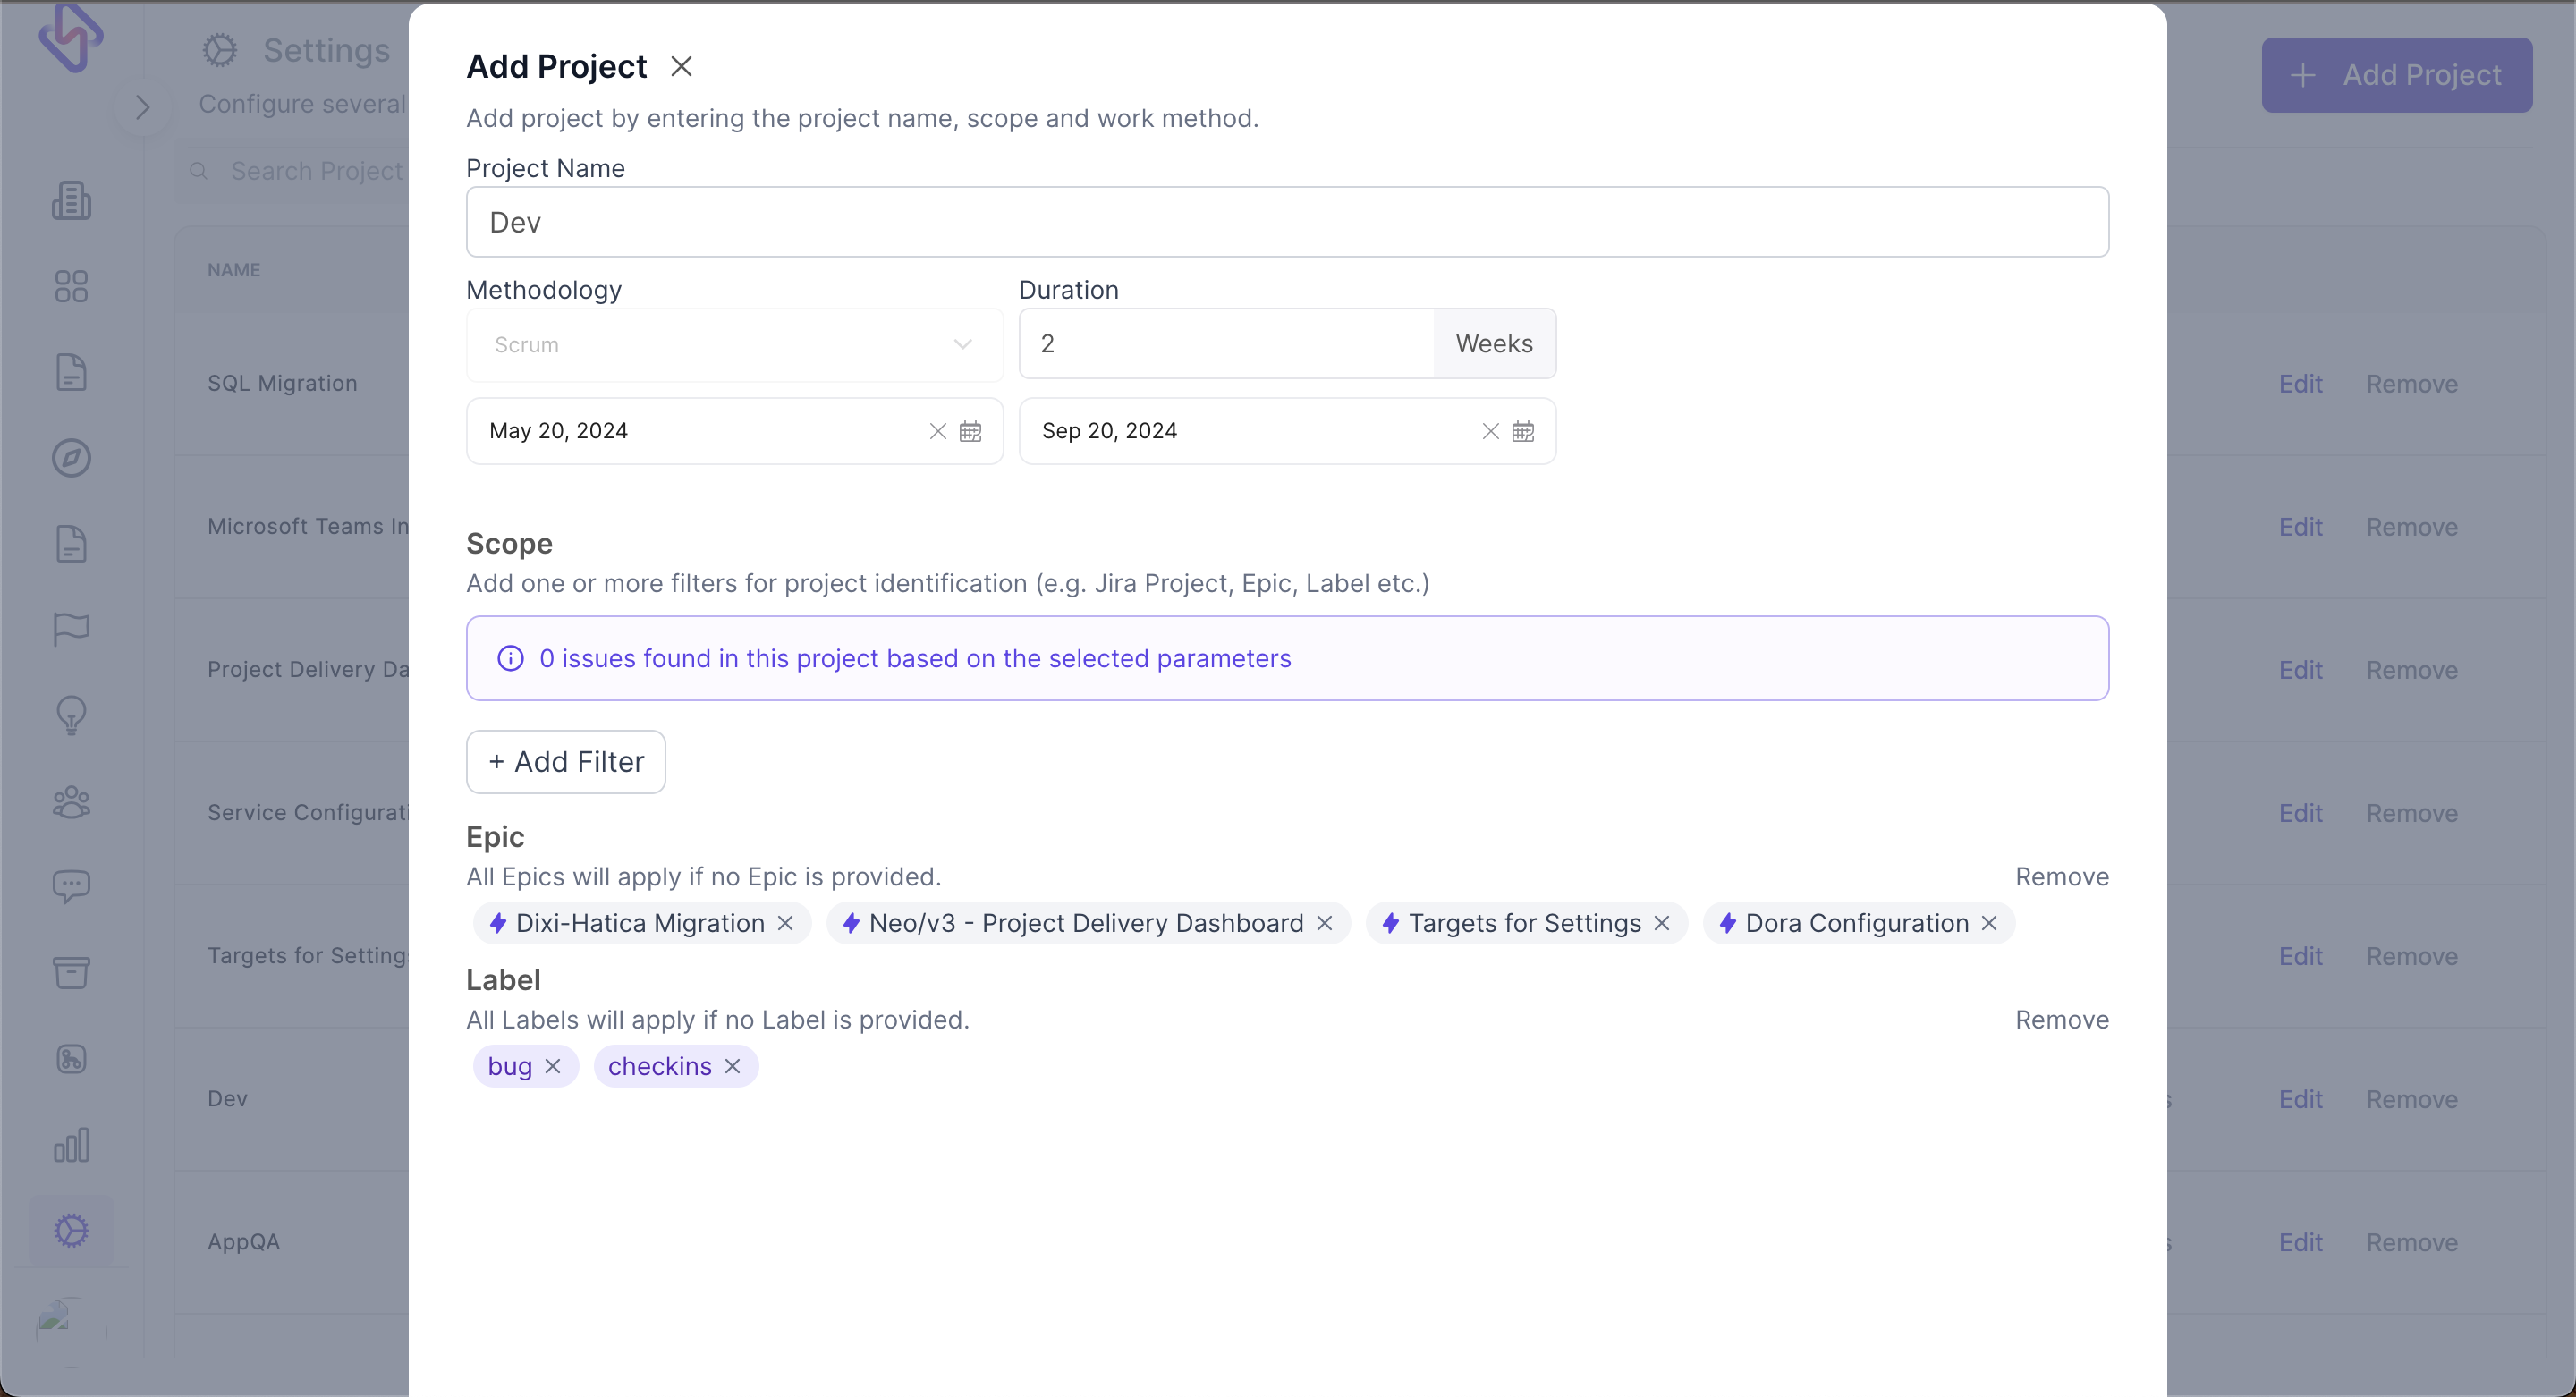
Navigate to Settings: Go to Settings > Projects and click “+ Add Project”.
-
Fill Out the Form: Enter the project name, specify the duration of each iteration in weeks, and, if applicable, set the start and end dates of the project.
-
Define the Project Scope: Click on “Add Filter” and select the parameters that define your project scope. You can choose from Projects, Epics, Issues, Task Types, or Labels.
-
Save the Project: Once you have filled in all the necessary details, click “Save” to add the new project.
Managing an existing Project
- Navigate to Settings: Go to Settings > Projects.
- Select the Project: Find the project you want to manage.
- Edit the Project: Click on “Edit” to modify the project's details, including scope, name, and iteration duration.
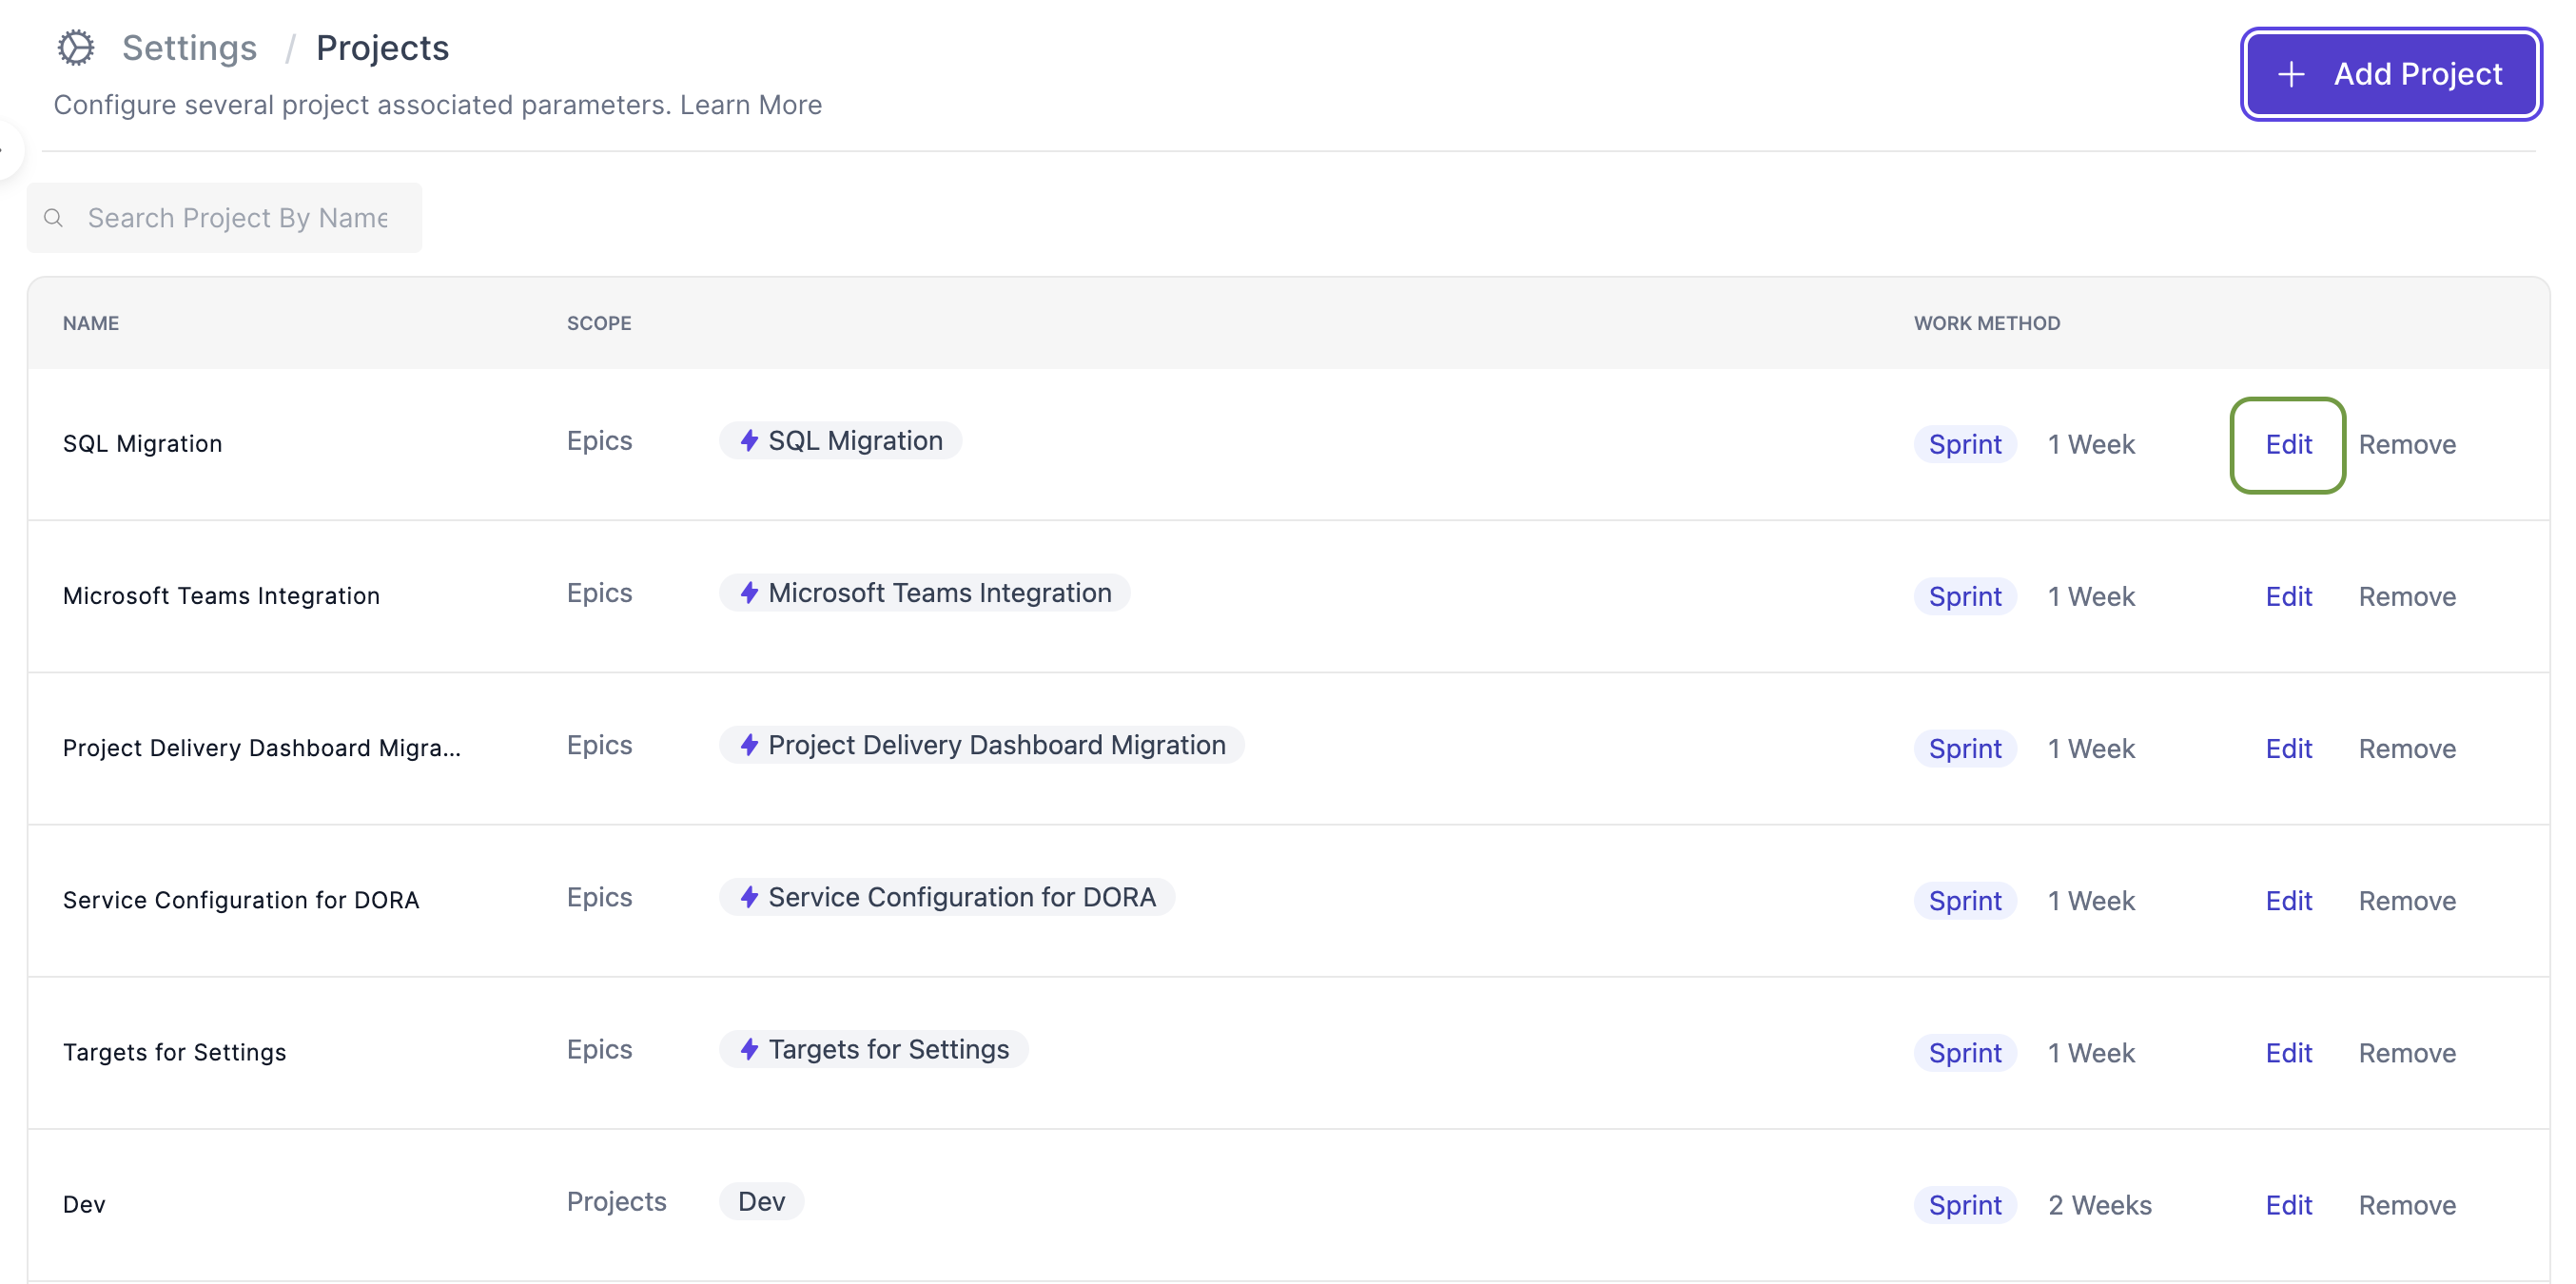
- Delete the Project: Click on “Remove” to delete the project. Note that deletion is a permanent action and cannot be undone.