How can I add new members in Hatica?
Adding a new member in Hatica is simple.
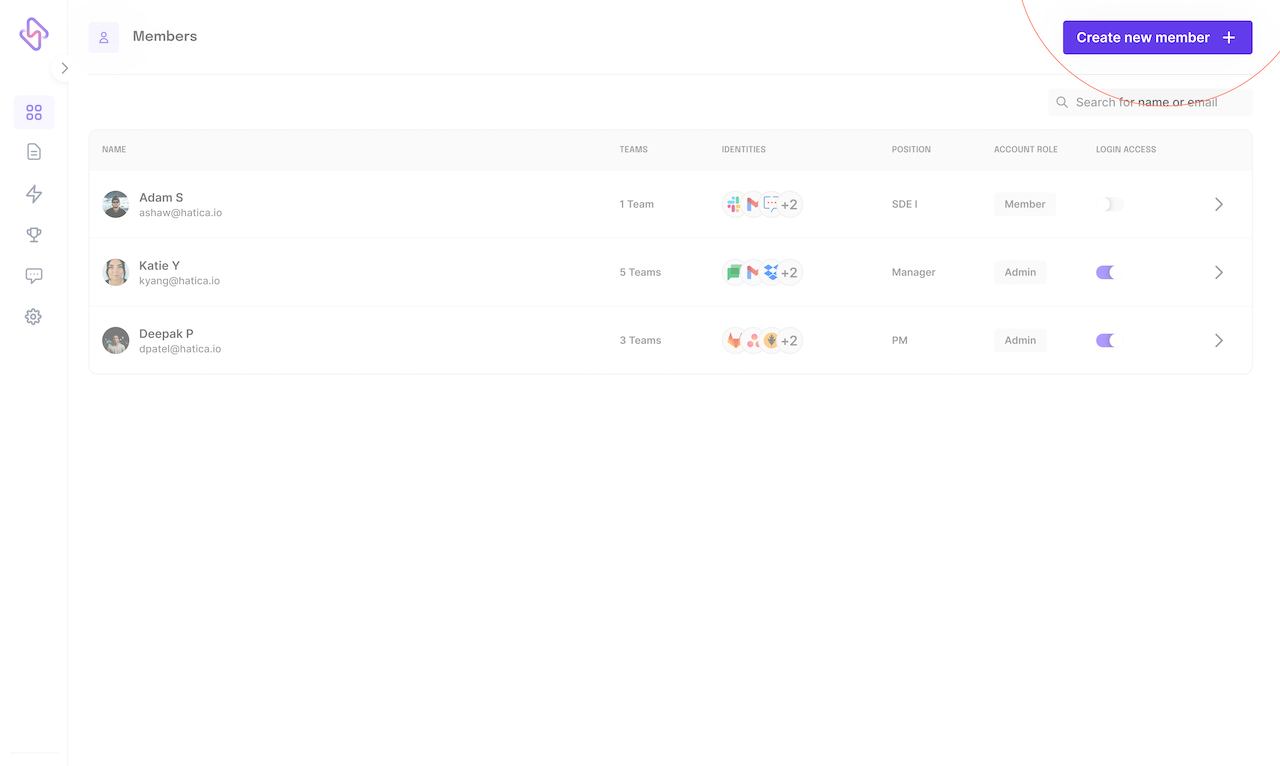
Click on the "Create new member" button on the top right of your settings/members page here: https://app.hatica.io/settings/members (opens in a new tab)
Enter new member details
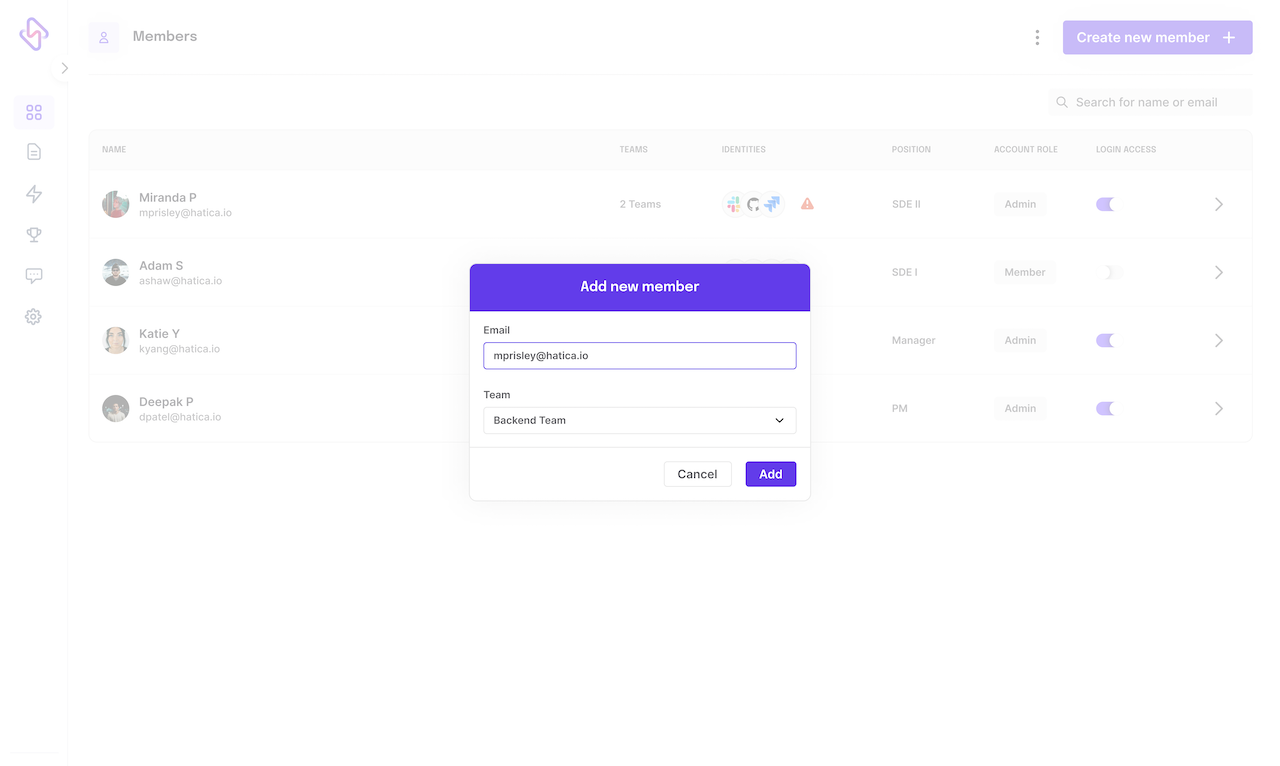
Next, enter the new members email and add them to any of your teams that are already created under settings/teams.
Hit the "Add" button to create the new member!
Edit a members details
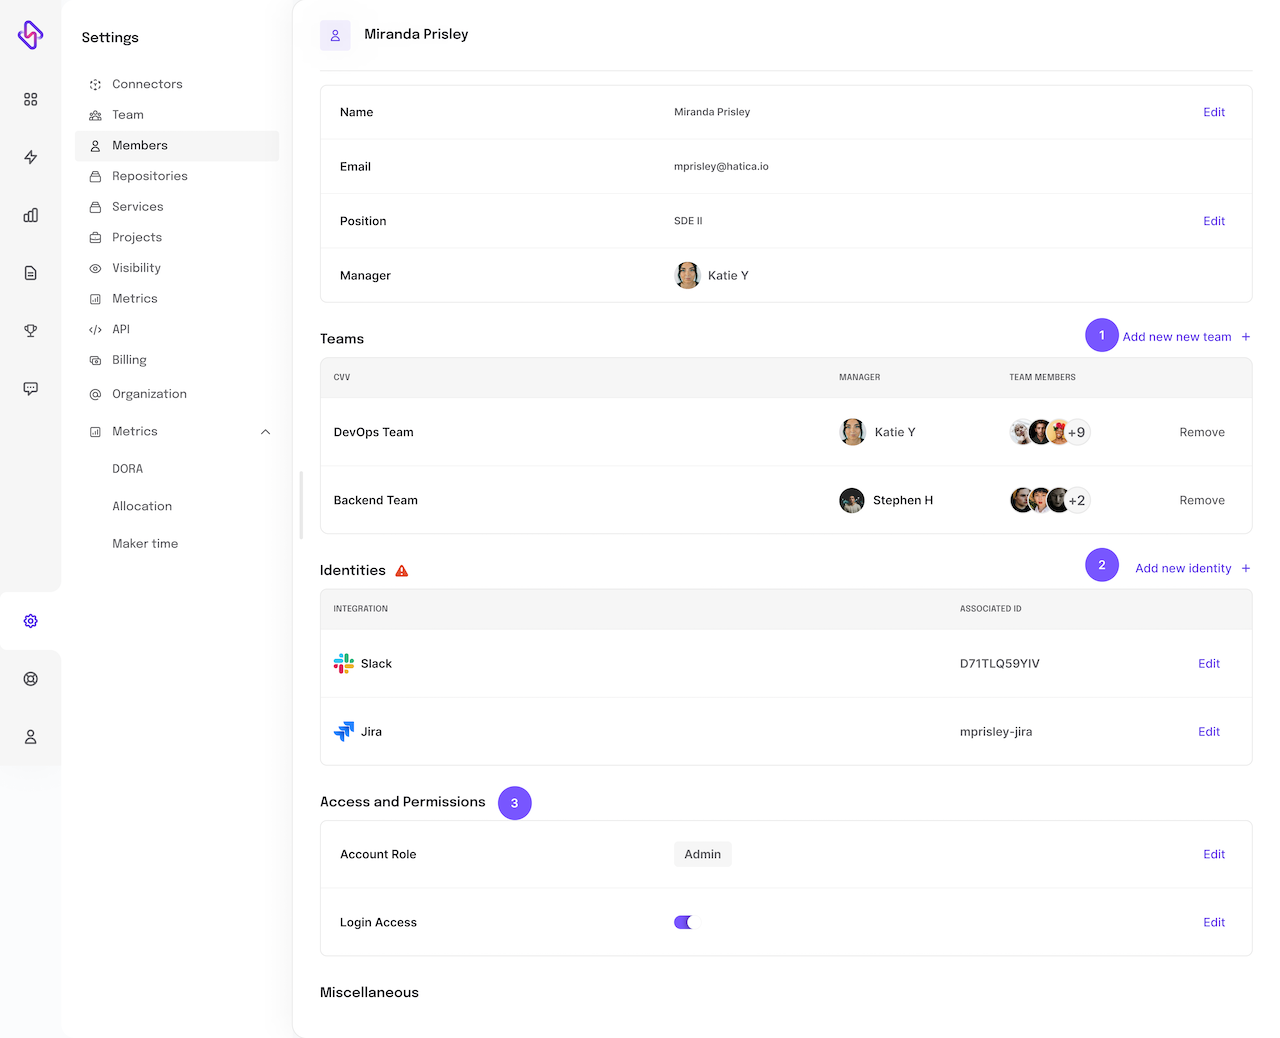
After clicking add, the new member will be created and you will be redirected to a page with the new members details. Here, you can add them to more teams, assign manager, add new or multiple identities, and edit their access control permissions.
To add them to more teams, just click on the "Add to new team" button (marked by (1) in the screenshot) and select all the teams this member should be a part of. Multiple teams are supported by Hatica.
If Slack or Jira are connected with your Hatica account, Slack and/or Jira identities will be auto added to this new user.
Github and Gitlab identities will have to be manually added using the "Add new identitiy" button (Marked by (2) in the screenshot) and add their Github or Gitlab identities in the popup window and click save.
Access and Permissions can be configured per user (Marked by (3) in the screenshot). You can grant login access after which they will be able to login to app.hatica.io and view dashboards and metrics.