Jira
Connecting your Jira
- In order to connect Jira, we'll need these pieces of information:
API Token: Here (opens in a new tab) is the official documentation for Jira containing the instructions on how to create a API Token.Email: The email of the user for which is used for generating the API Token.Sub Domain: The subdomain of the jira. For eg:haticaincase jira url ishttps://hatica.atlassian.net.
- Navigate to Connectors Page (opens in a new tab) and select
Jira Server.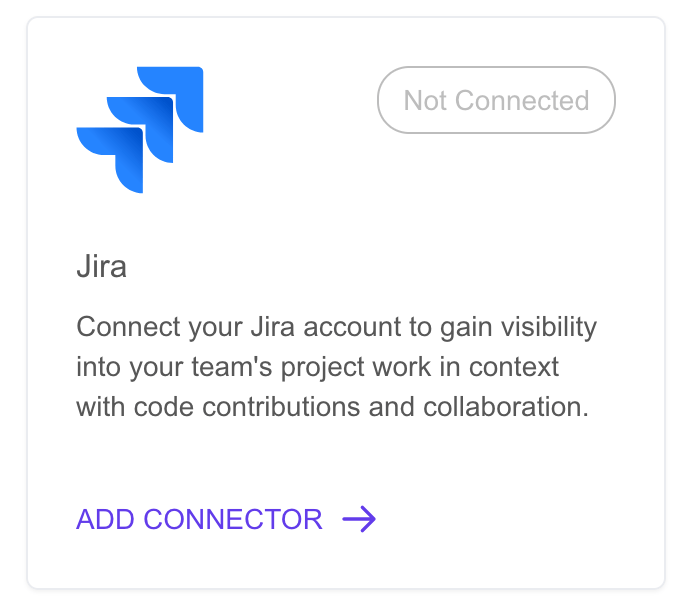
- Enter the earlier gather information in the form and click Connect.
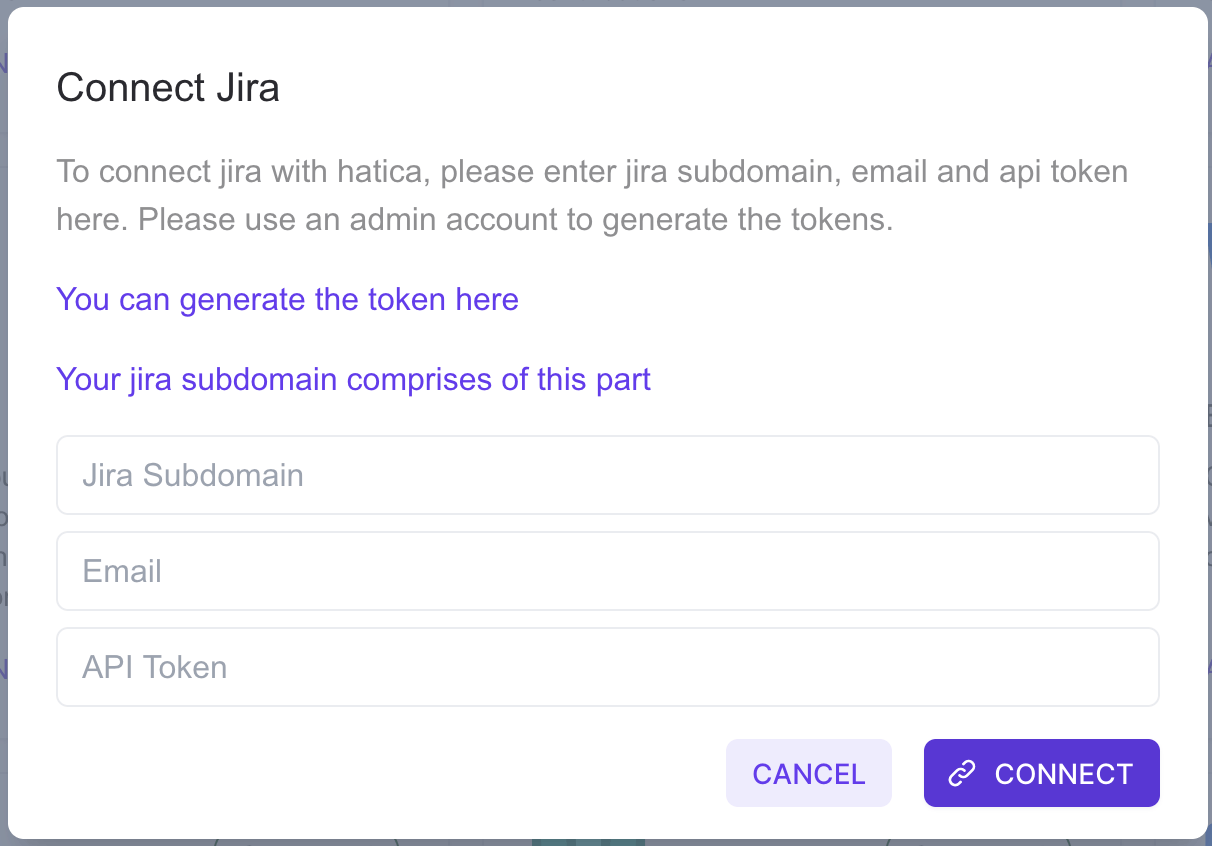
- Our system will verify the token and syncing will begin.
Ensuring Jira Issue-PR Linking
We rely on issue development data for linking issues to PRs. So we have to ensure that user used for authenticating the Jira Server on Hatica app has access to the development data.
How to check and provide access to development data?
- Go to any issue in your jira instance.
- Look for development section in the issue.
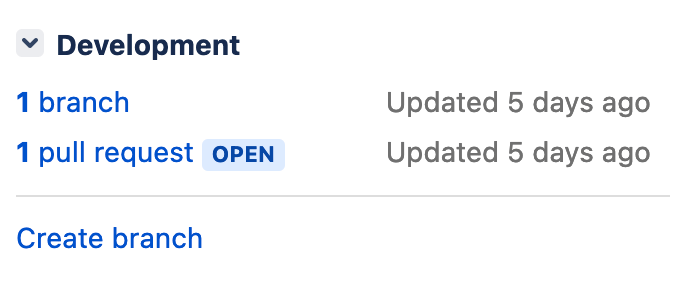
- Click on
pull request. If you are able to see the PRs linked to the issue, then you are all good to go no further steps required. If not, then you need to give access to the user.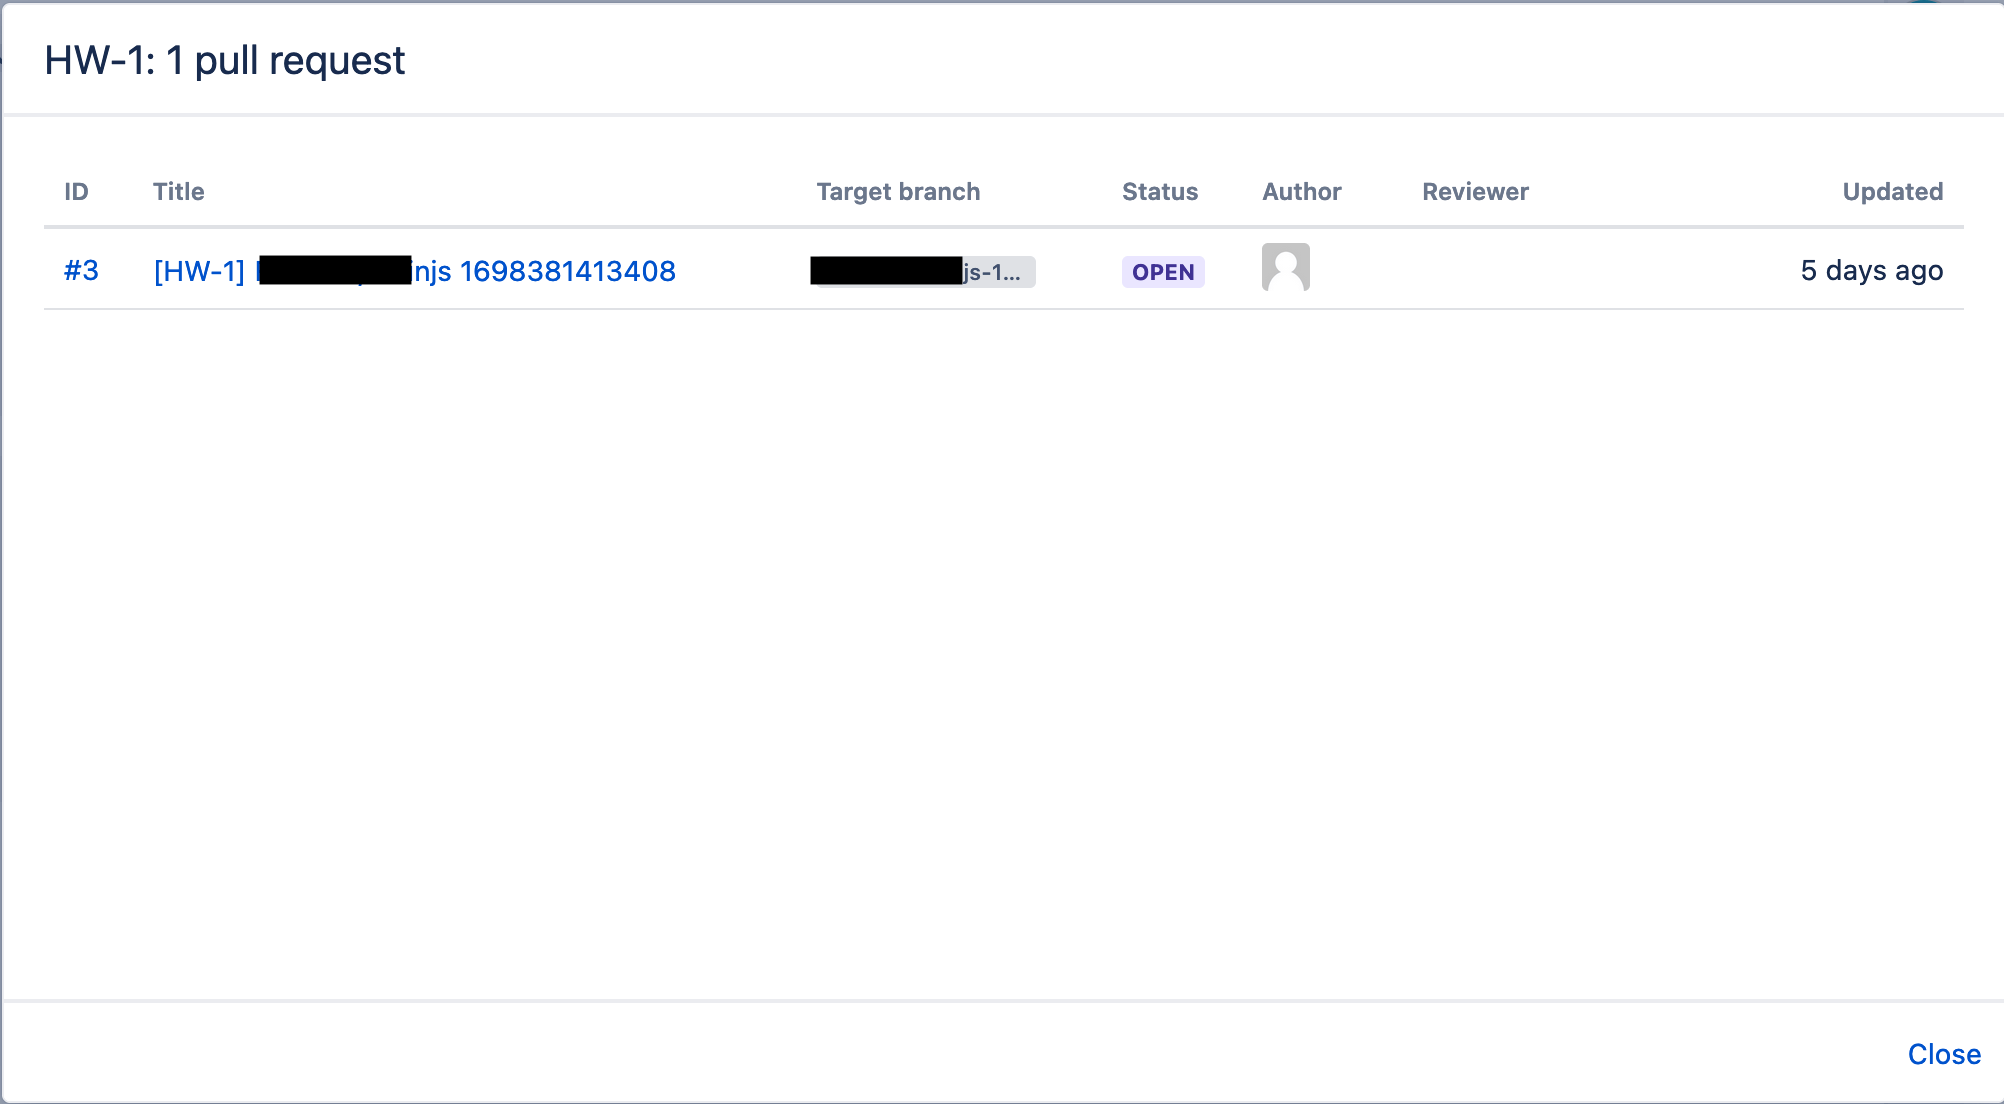
- To give access to the user, click on the
Bitbucket(incase of Bitbucket application link).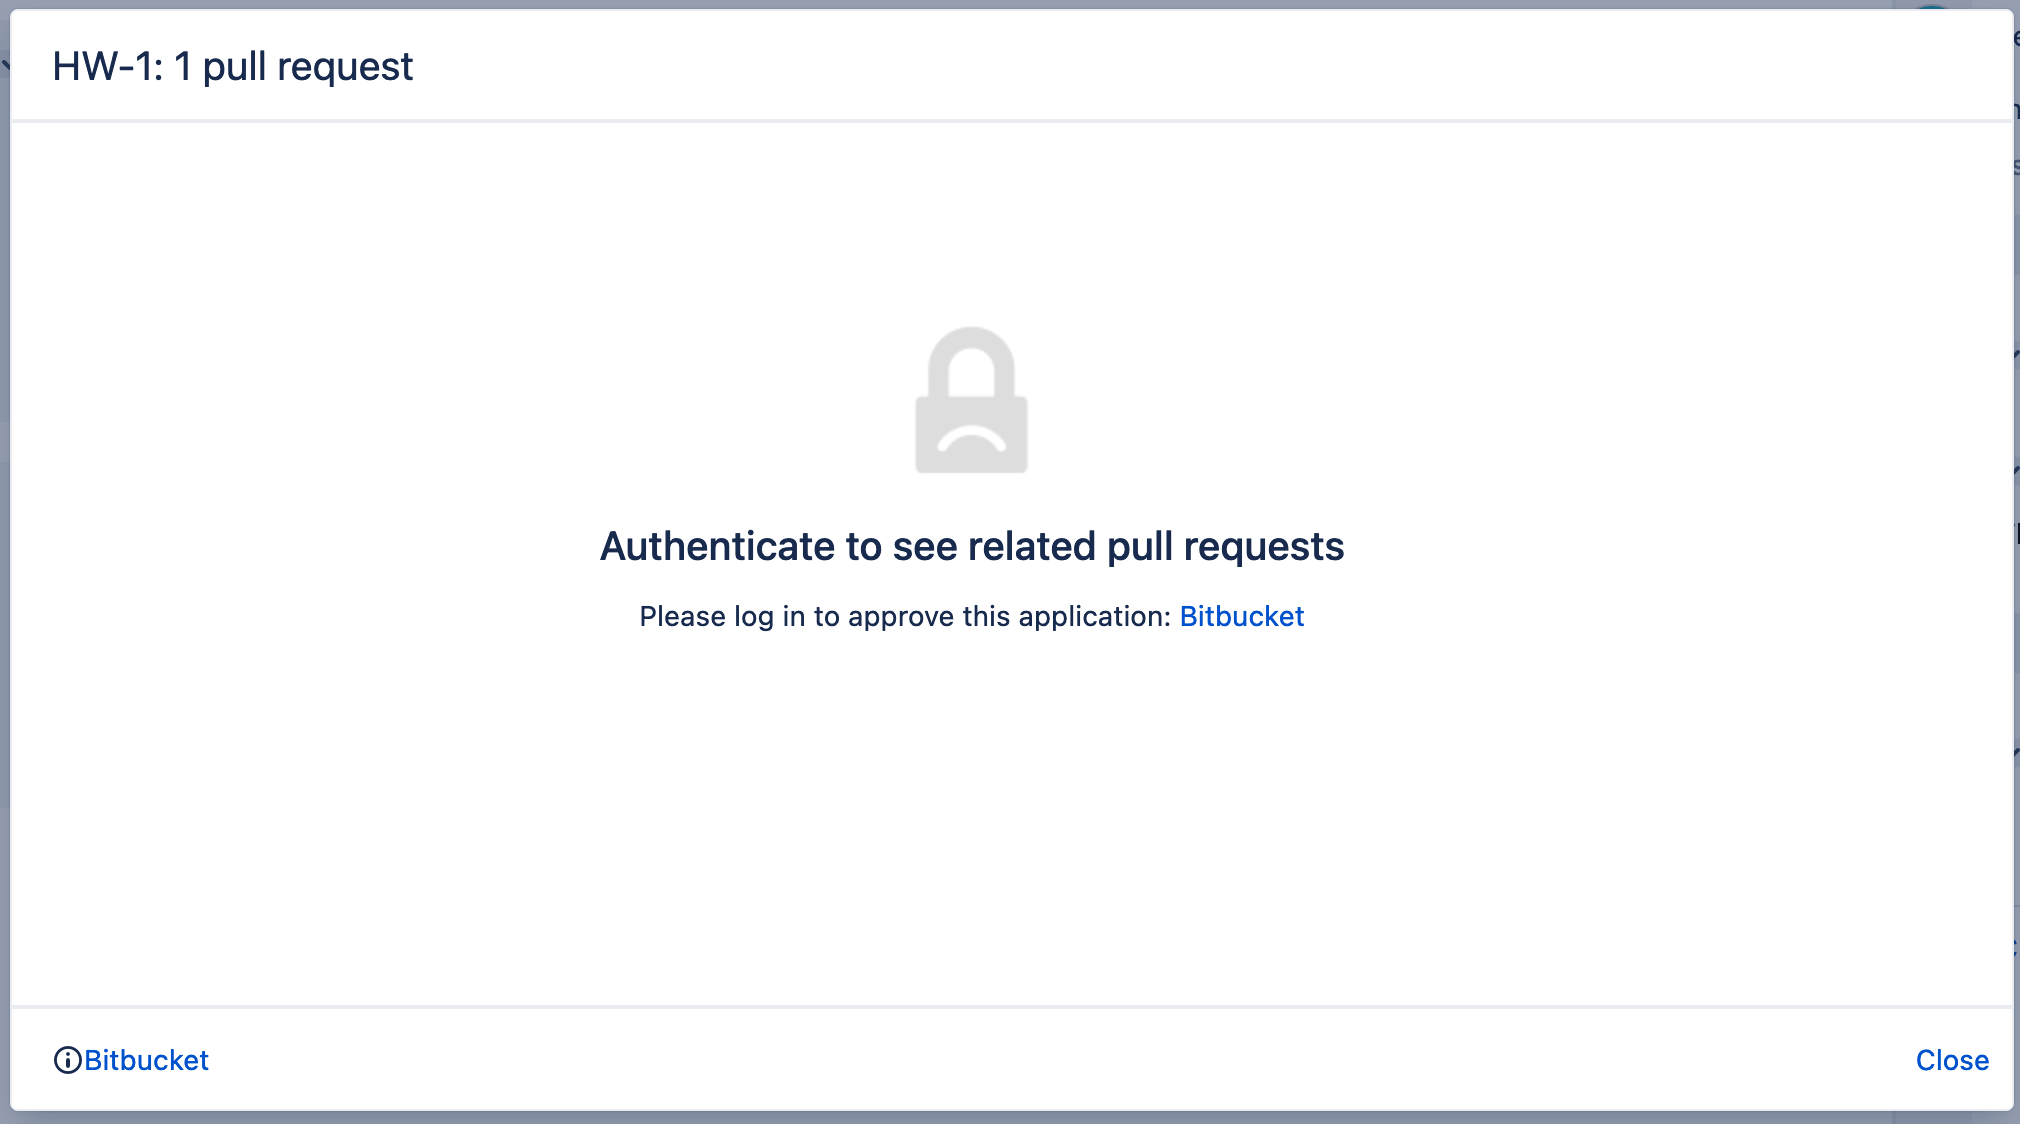
- You will be redirected to Bitbucket and will ask you to authenticate jira for the same. Click
Allowto give access to the user.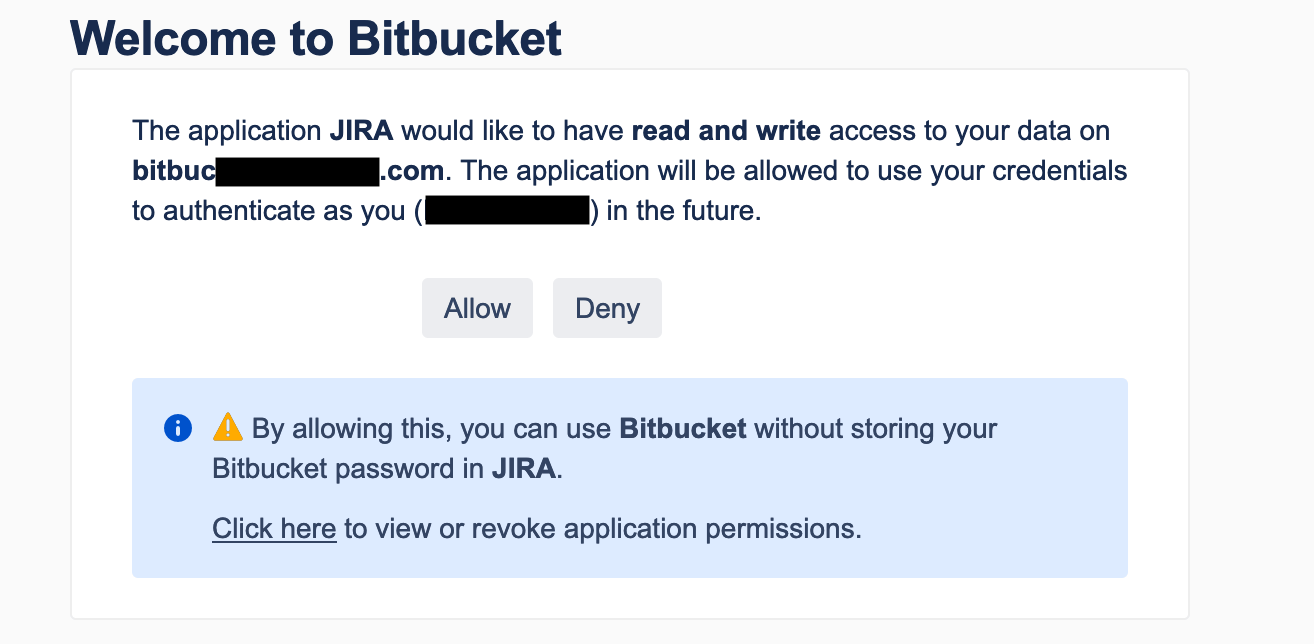
- You should be able to view the PRs linked to the issue.
FAQs
Q: What access level does Hatica needs?
A: We only require read access to issues. In case of Access Token we get all the access as of the user.
Q: How long does initial sync take?
A: In general it takes about a day. It all depends on size of data in your jira instance.
Q: I want to limit the projects being synced. How can I do that?
A: As of now we donot have that functionality in the app itself. But we can do it for you, just reach out to us on the support.